Step 2: Creating Flamingo Project and Adding Initialization Script
After logging in to Flamingo Control Panel, you can create your first Flamingo project. To do this, you should:
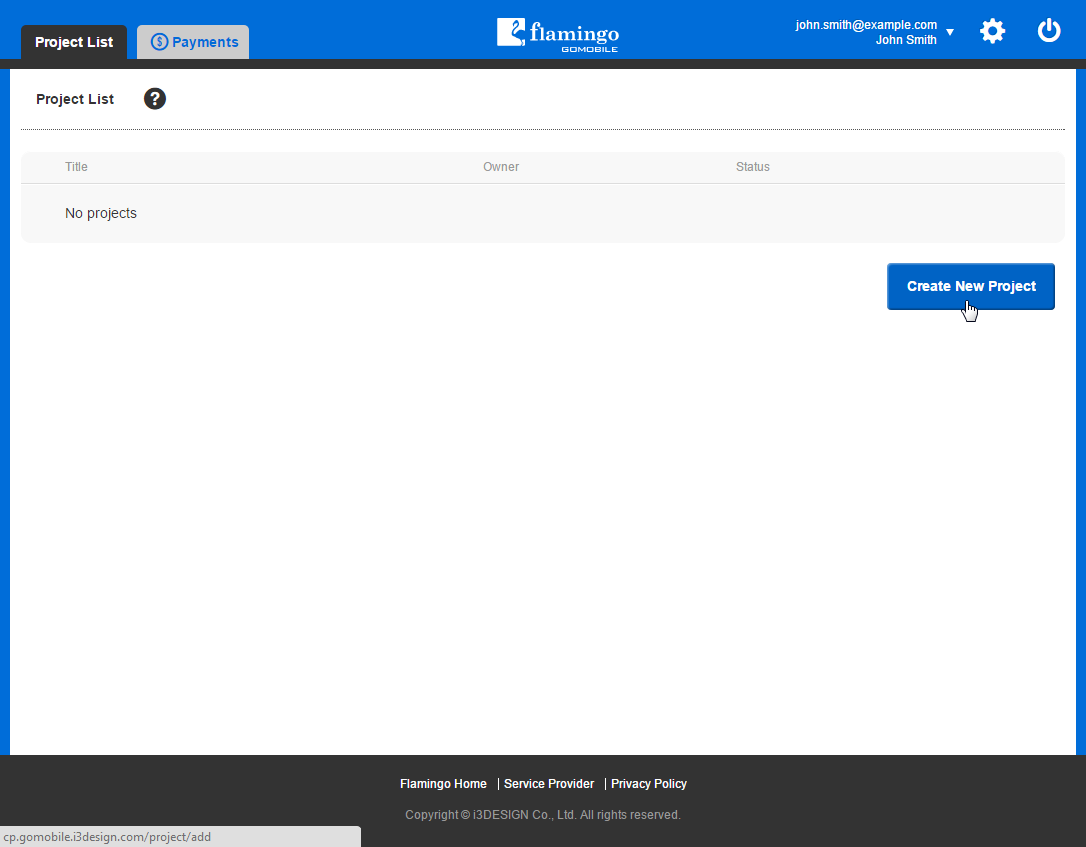
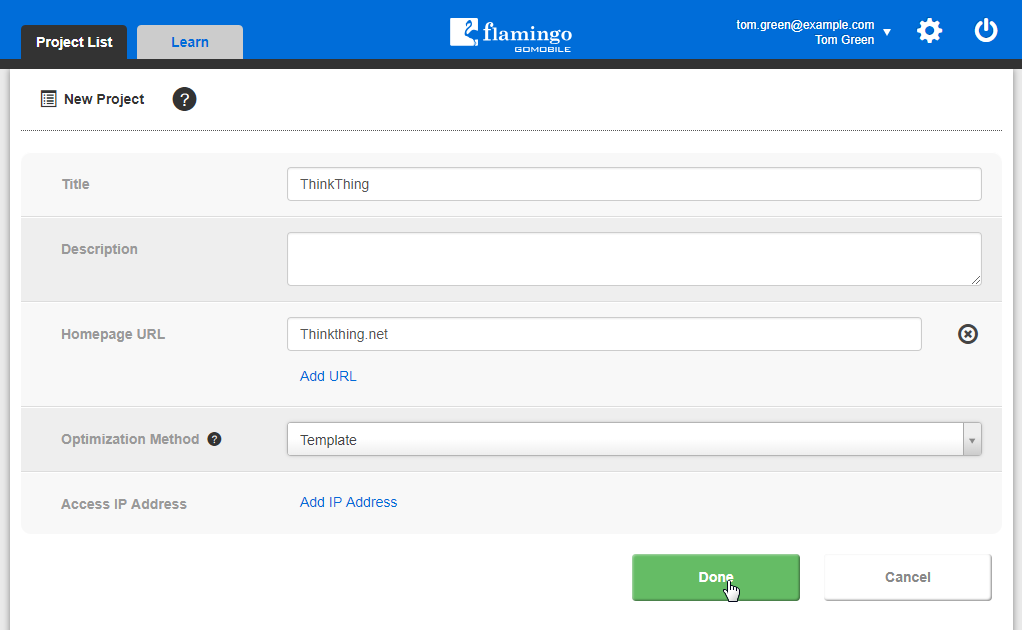
- On the Project List page, click Create New Project.
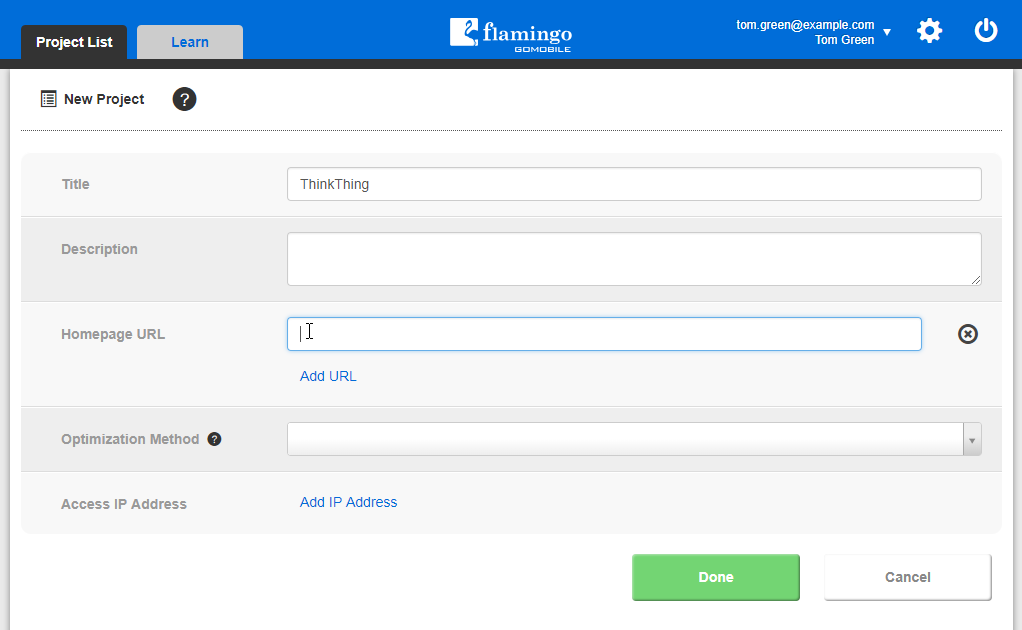
- Enter project name in the Title field.
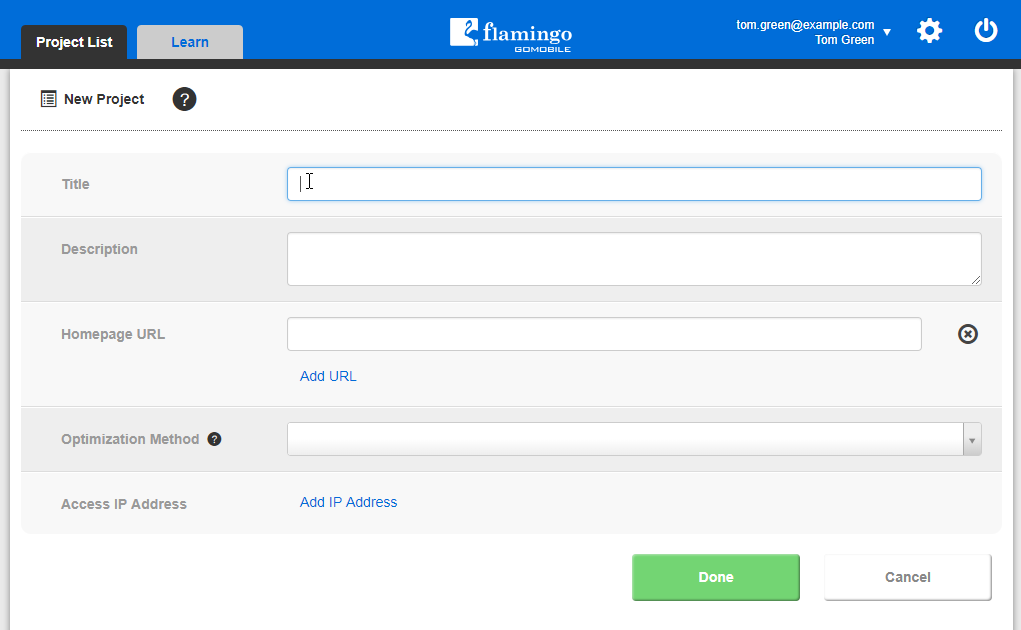
- Enter address of the site homepage in the Homepage URL field.
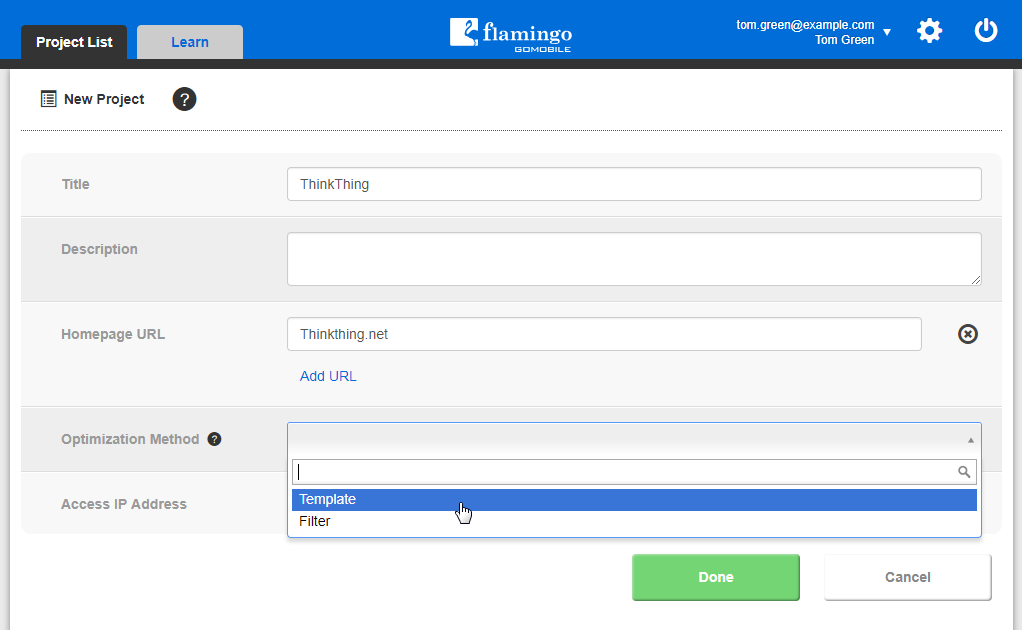
- Specify the project type.
- Click Done.
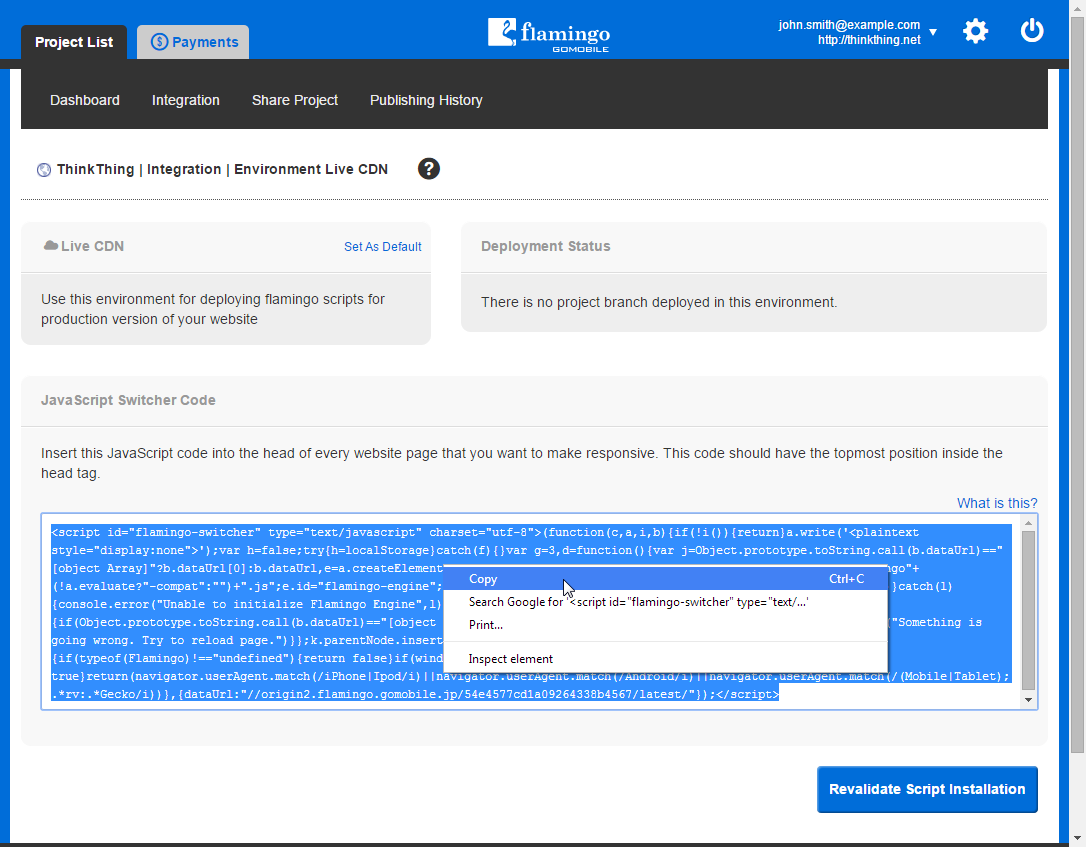
- You will be automatically redirected to the Validate Flamingo Script Installation page. On this page, copy the code available in the JavaScript Switcher Code section by selecting the code and clicking Copy in the popup menu.
- Paste the code right after the opening HEAD tag of each page of your original site you want to make responsive in any external editor.
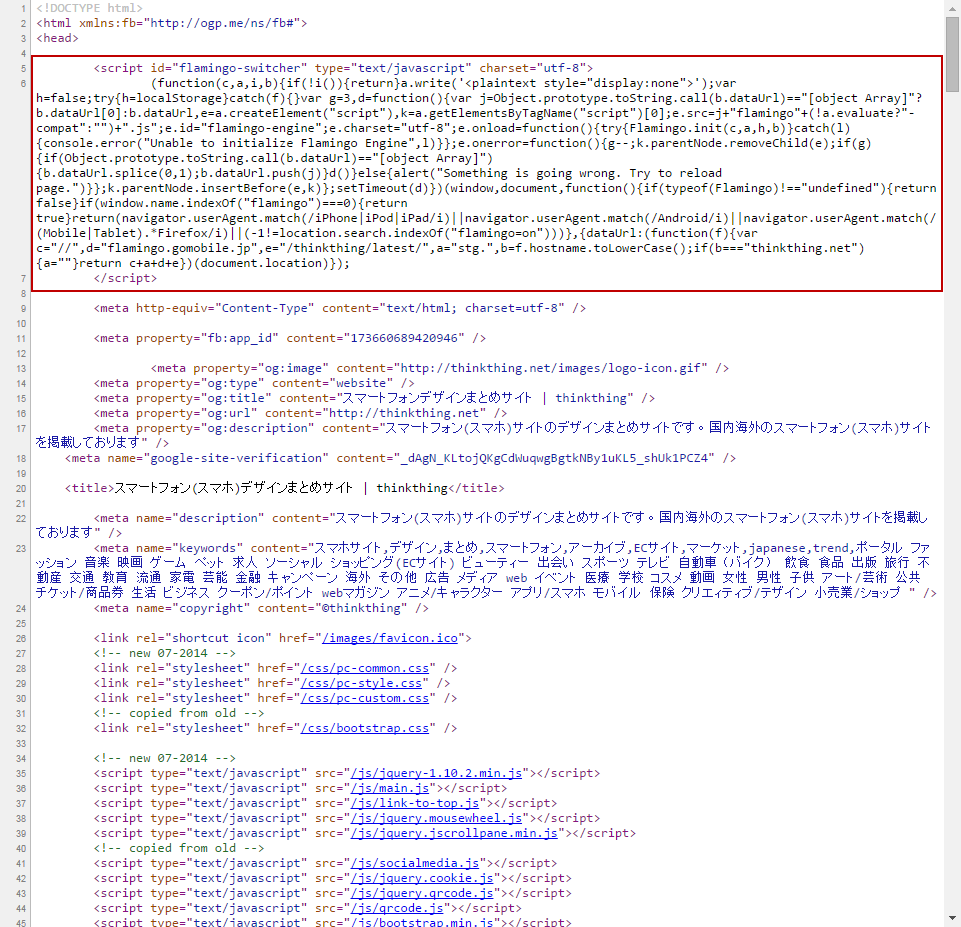
- Save all pages.
- Back in Flamingo Control Panel, click Revalidate Script Installation to check that script is working properly.
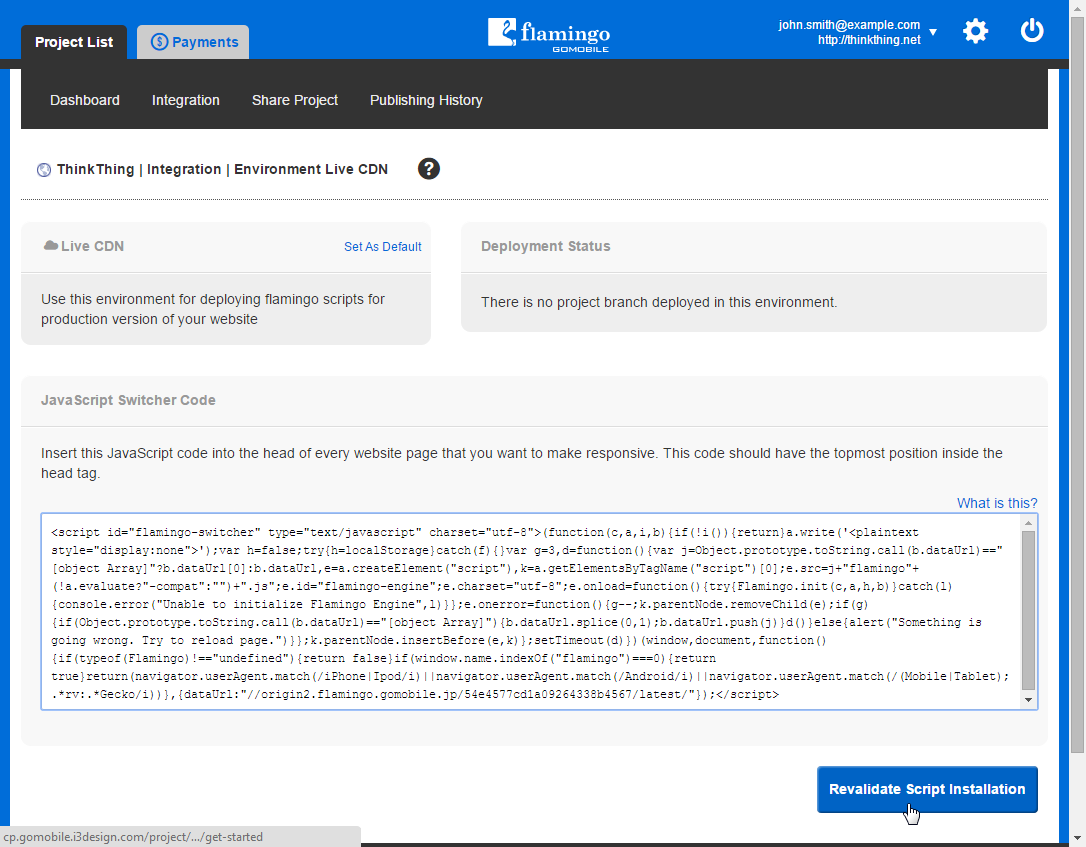
- After Flamingo completes validation, it will show the validation status. If Flamingo Script works properly, a button allowing you to open the project in Flamingo IDE will be shown. If script available on your pages is not valid, the corresponding statement will be shown. After you fix the script, click the Recheck button to validate it again.

After script works properly on your site, you can open it in Flamingo IDE and start making it responsive.