Adding and Removing Files and Folders
In Flamingo IDE, you can add and remove files and folders in your project using File Manager.
Adding Files and Folders to Project
Uploading existing files and folders
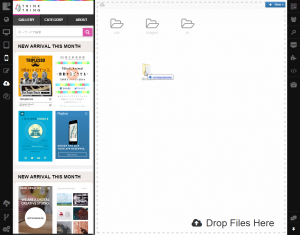
To upload existing files/folders to your project, you should:
- Open File Manager by clicking the File Manager icon on the left sidebar.

- Open the folder you need to add the file or folder to.
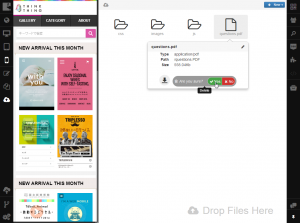
- Drag and drop your file, folder, multiple files or folders onto File Manager.
Note
- To cancel loading the file or folder, click Discard while it is being loaded.
- When you are loading a folder, all files inside it and subfolders will be loaded as well. To show the files and subfolders being loaded, click the Show Details button.
- Empty files won’t be loaded.
The file/folder will be added to the folder you’ve selected and you can start working with it.
Creating new files and folders
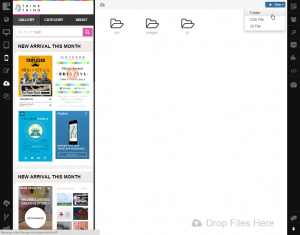
To create new file/folder in your project, you should:
- Open File Manager by clicking the File Manager icon on the left sidebar.
- Define the location of your file/folder.
- Click New in File Manager and select the needed item (Folder, CSS File, JS File).
- Type file/folder name in the corresponding field.
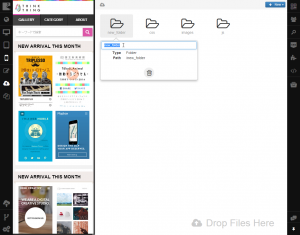
The file/folder name will be saved automatically and added to your project.
Removing Files and Folders from Project
To remove a file or folder from project, you should:
- Open File Manager by clicking the File Manager icon on the left sidebar.
- Open the folder you need to remove the file or folder from and point to the file/folder.
- Click Delete in the callout that appears.
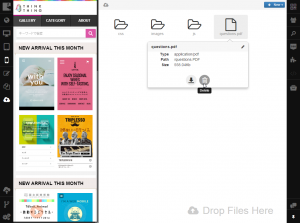
- Click Yes to confirm deleting.
The selected file/folder will be deleted permanently. If there are any subfolders in the folder you are going to delete, they will be deleted as well.
See also