Sharing Branch
By sharing a branch you give other users permission to work with it. Actions that can be performed by the other user are defined with permissions. If a user has some branch that is shared with them, they can share it further. You can share a branch from Control Panel or IDE.
Sharing Branch from Control Panel
To share a branch from Control Panel, you should:
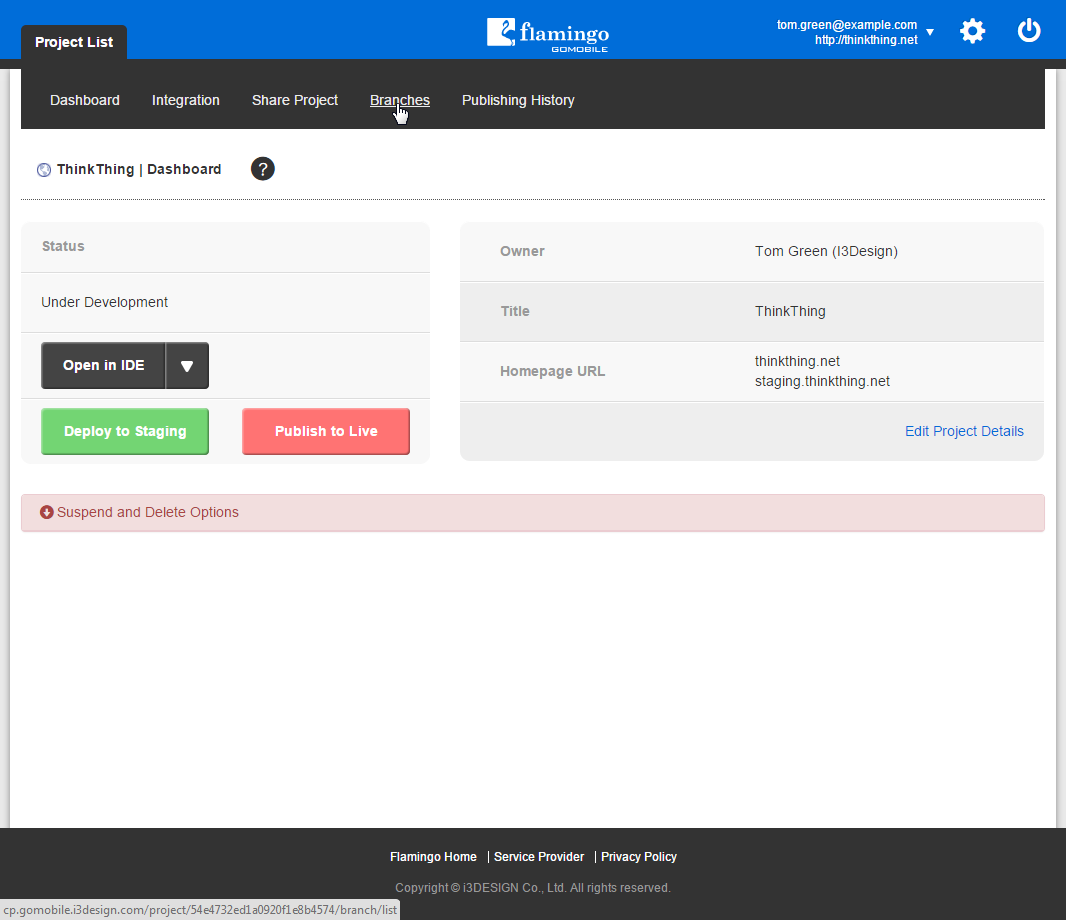
- On the Project List page, select the required project and click on it.
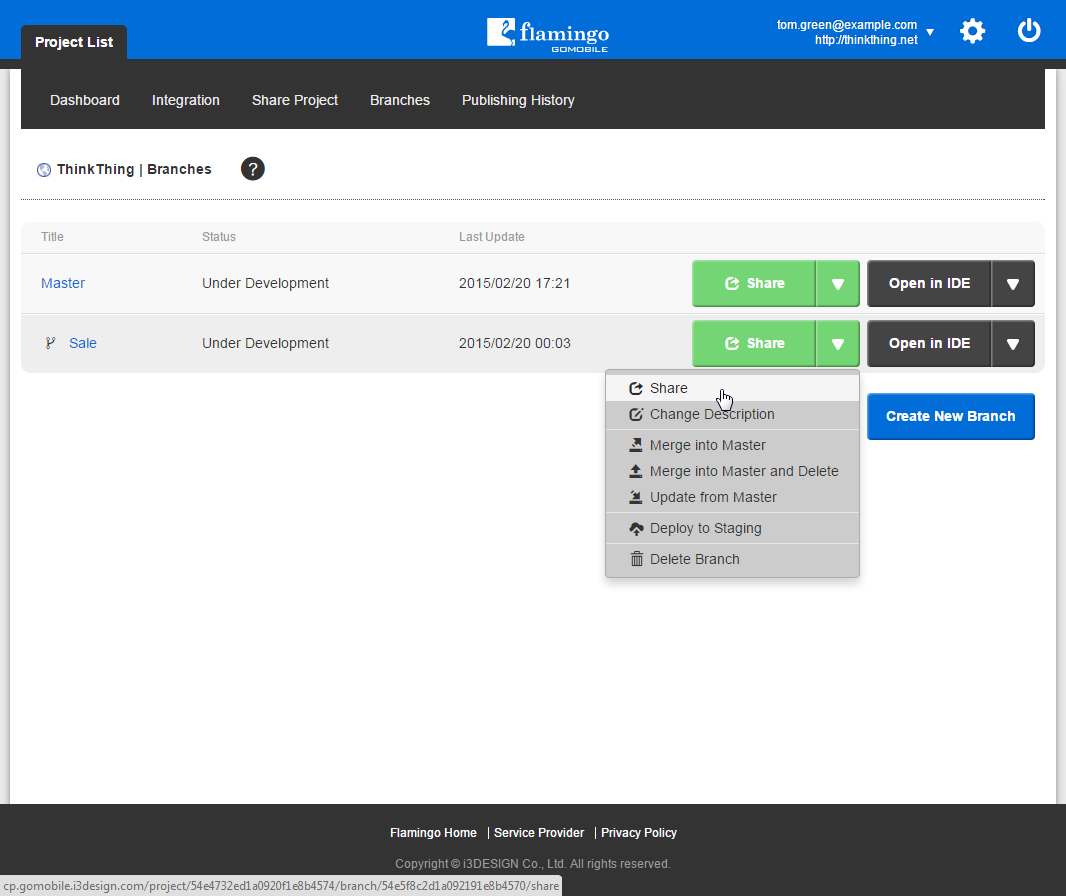
- Go to the Branches page.
- Near the branch you need to share, select the Share action in the action list.
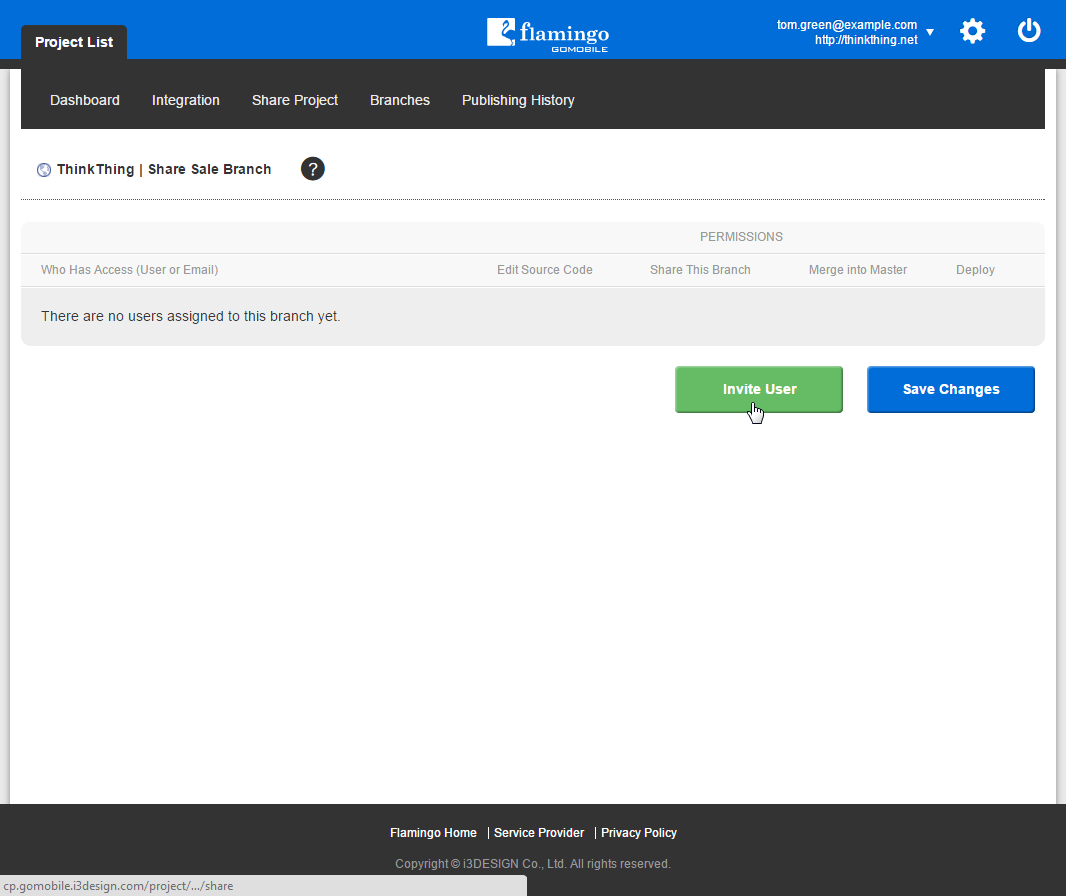
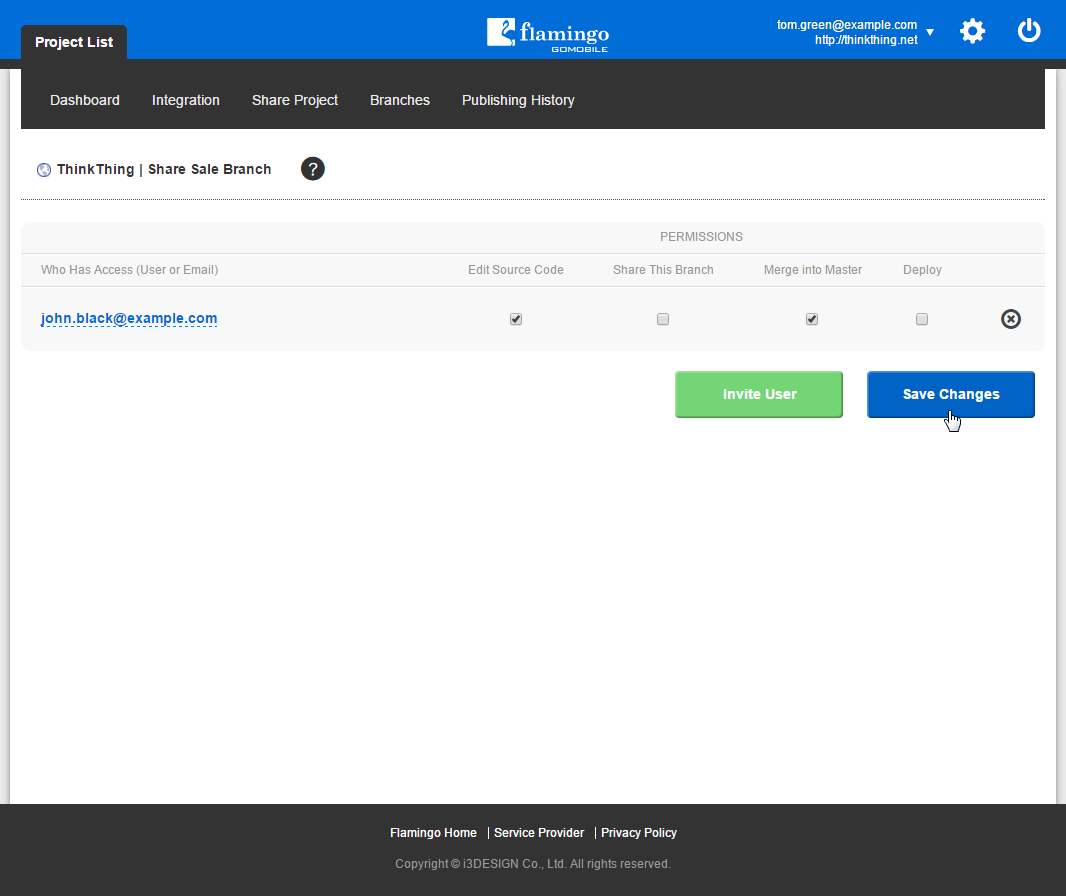
- Click the Invite User button.
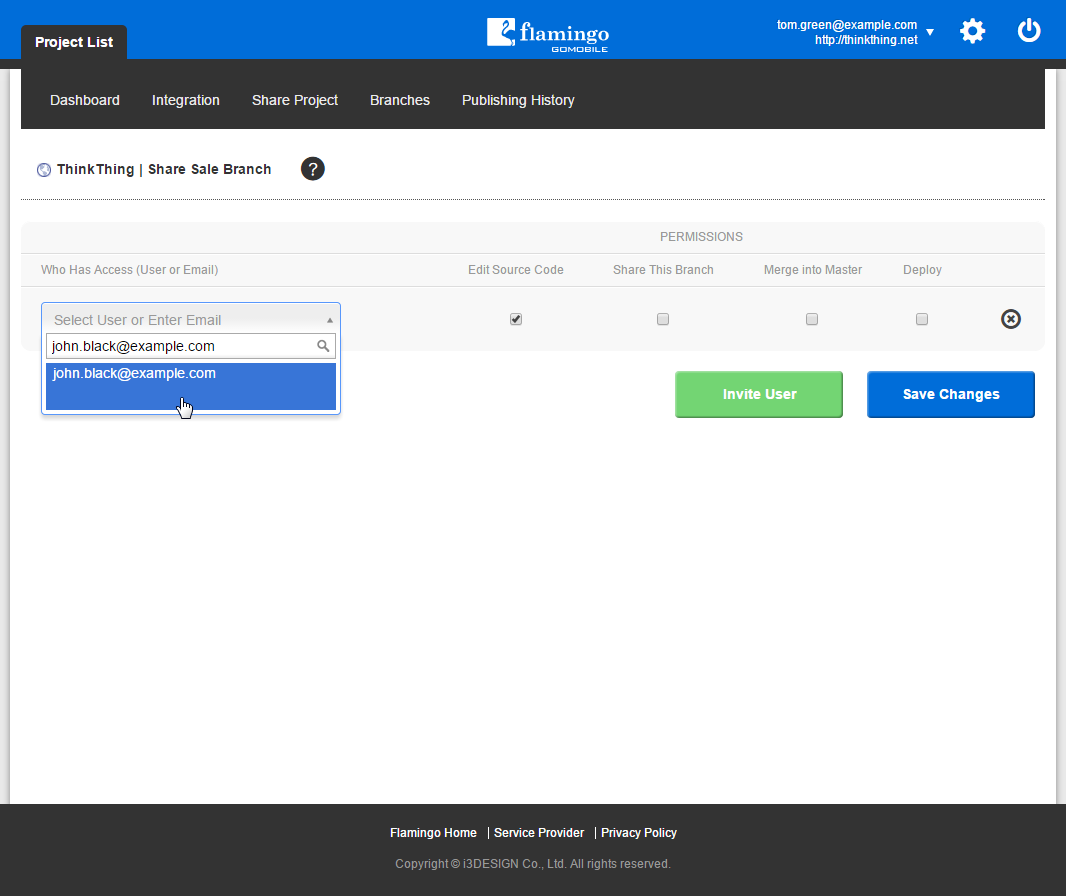
- Enter the email in the Select User or Enter Email field or select it from the drop-down list.
Note
If user does not have Flamingo account, enter their email address and an invitation to create an account will be sent to them immediately. After they create an account and login, they will have access to the shared branch.
- Define user’s permissions by selecting corresponding checkboxes.

- Click Save Changes.
The branch will be shared and it will appear in the list of available branches for this project of the user with whom it was shared.
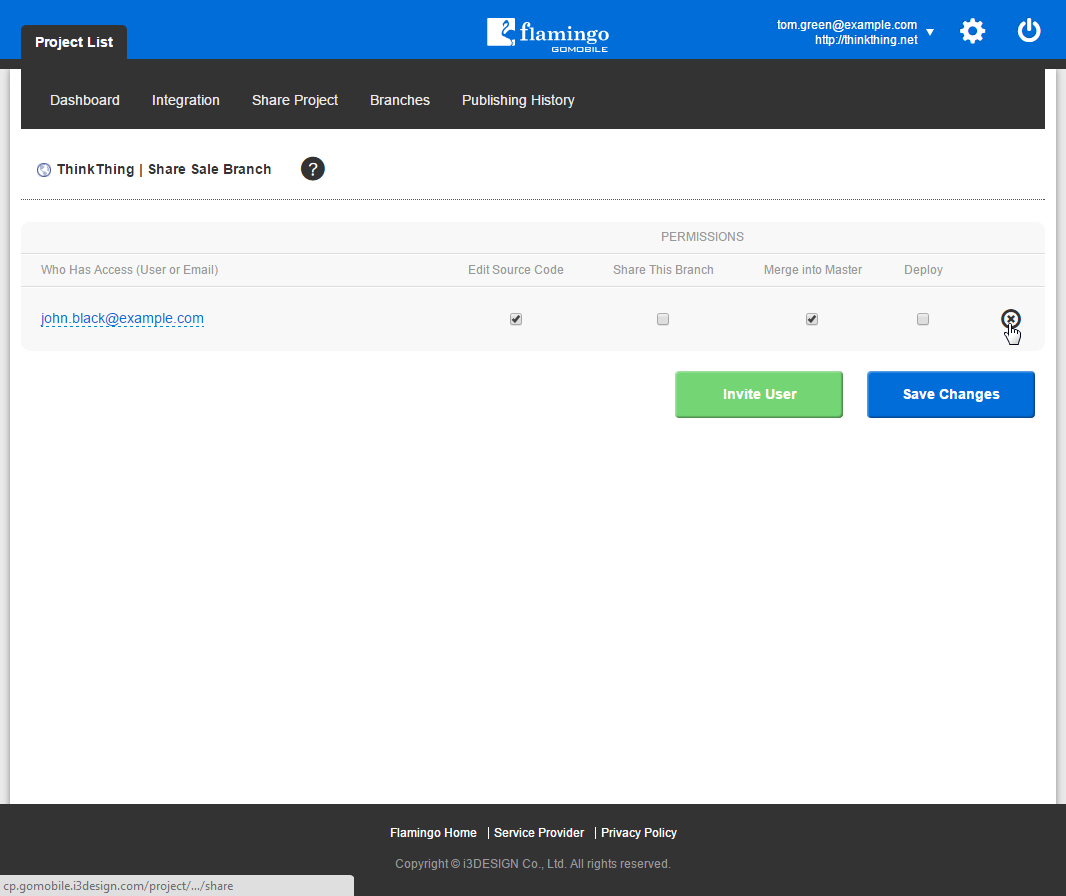
To stop sharing the branch, click the Remove button near the email address of the user with whom it is shared.
Sharing Branch from IDE
To share a branch from IDE, you should:
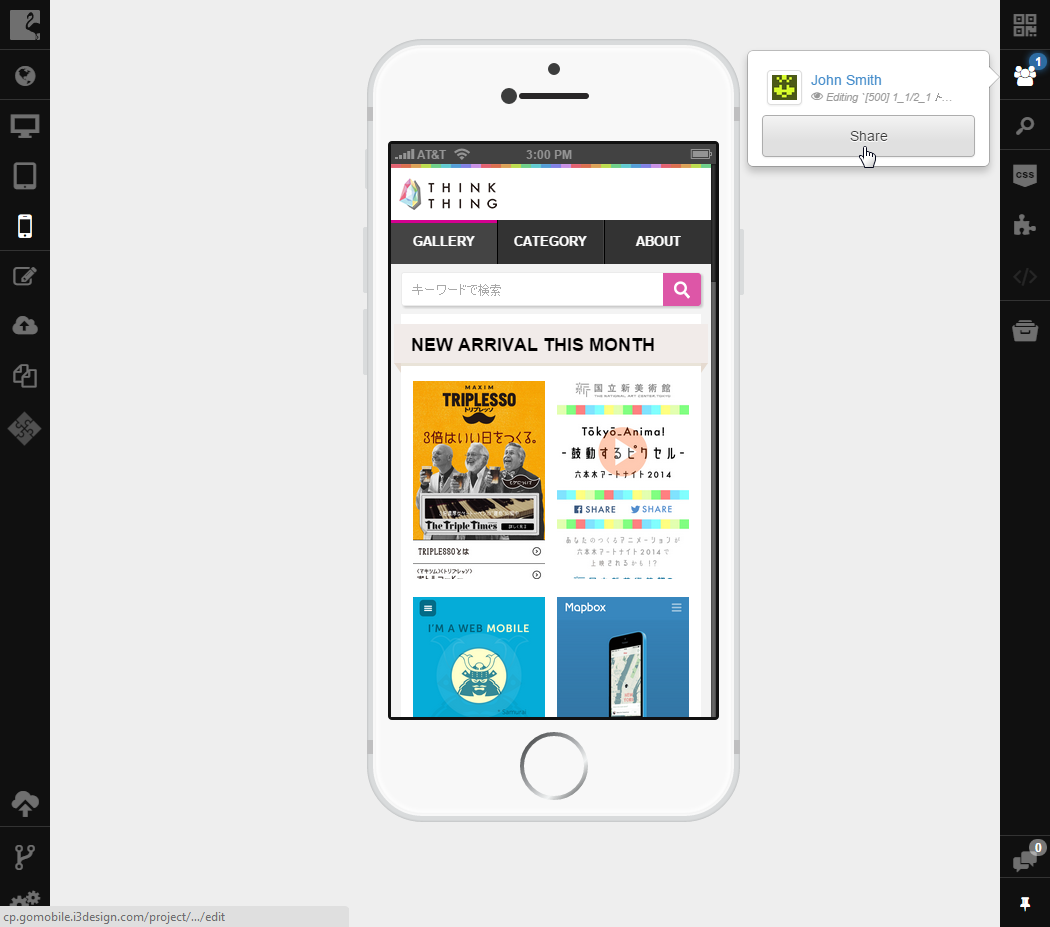
- Click the Users Online button.
- Click the Share button.
Note
This option is available only for users that have permission to share the opened branch.
- Follow steps 4-7 from the previous walkthrough.
See also