Project Versioning
To make publishing projects safer, Flamingo stores all published versions so that you can return to any previously published version in case of some error or problem was encountered in the latest version of your site. In this case you should rollback to the working project version, fix the bug in the new version, and then try to publish new project version again. These versions are called revisions.
Note
All revisions are saved for the Master branch only. Child branches also have revisions, but you can work only with the latest one. On the Publishing History page, only revisions of the Master branch are available.
You can also publish revisions on different environments for testing purposes before publishing your site on the Live environment.
Note
If you are not project owner, you need to have appropriate permissions to perform this action.
Working with Revisions
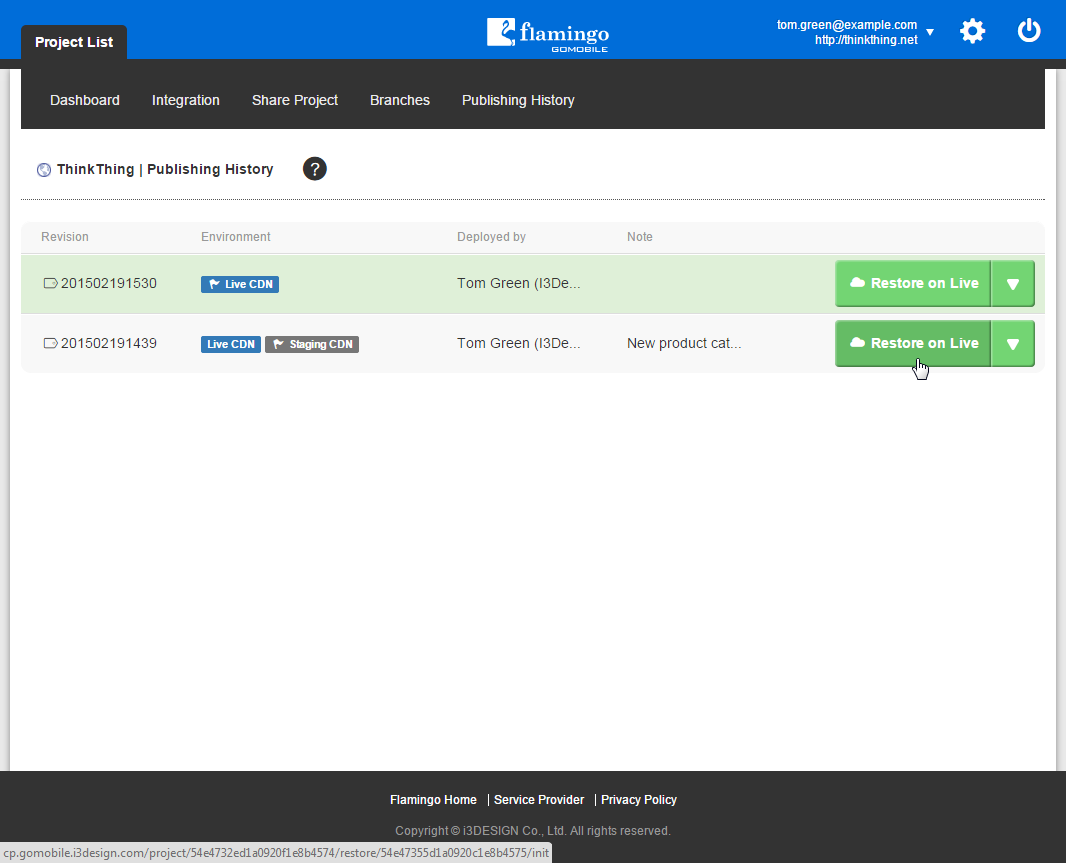
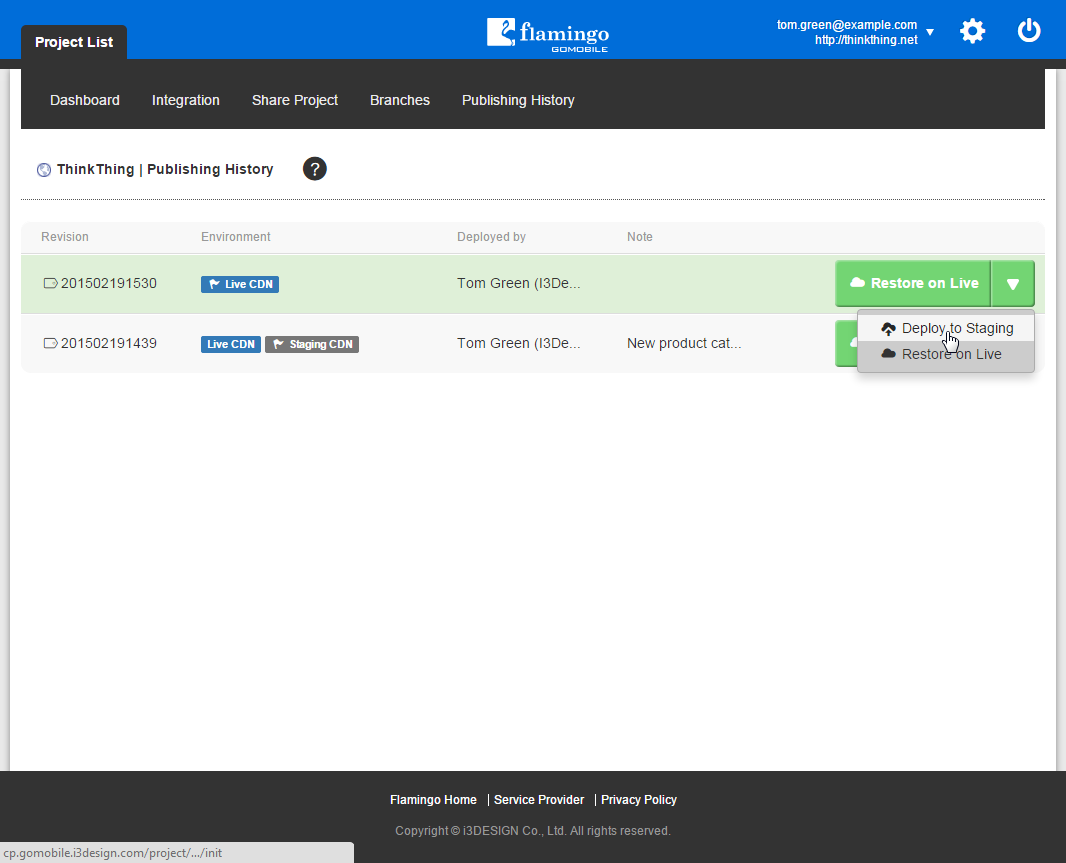
All revisions are available on the Publishing History page in Flamingo Control Panel. They are tightly connected with environments and can be uploaded to any of them.
Flamingo Control Panel provides a set of actions to work with revisions. The default action shown automatically near each revision depends on the previous user activity concerning this revision. User can take one of the following actions:
- Publish to Live
Use this action to publish the revision on the live environment. This action is displayed as the default one if the revision has never been published on the live environment.
- Restore on Live
Use this action to restore the revision on the live environment. This action is displayed as the default one if the revision has been published on the live environment earlier.
- Deploy to Staging
Use this action to upload the revision to the staging environment. This action is displayed as the default one if the revision was never published on the staging environment.
For the Publish to Live and Restore on Live actions you can view the list of changes between the revision you are going to publish and the current active revision. The list of changes includes the list of files in which any changes were made and their statuses. Note that templates in this list are also positioned as files, although these are Flamingo-specific entities.
If the revision you are going to publish is identical to the active revision, the corresponding message indicating that no changes were made is shown.
Publishing revision to the Live CDN environment
To publish the needed revision to the live environment, you should:
- Open the needed project on the Project List page by clicking on it.
- Go to the Publishing History page.
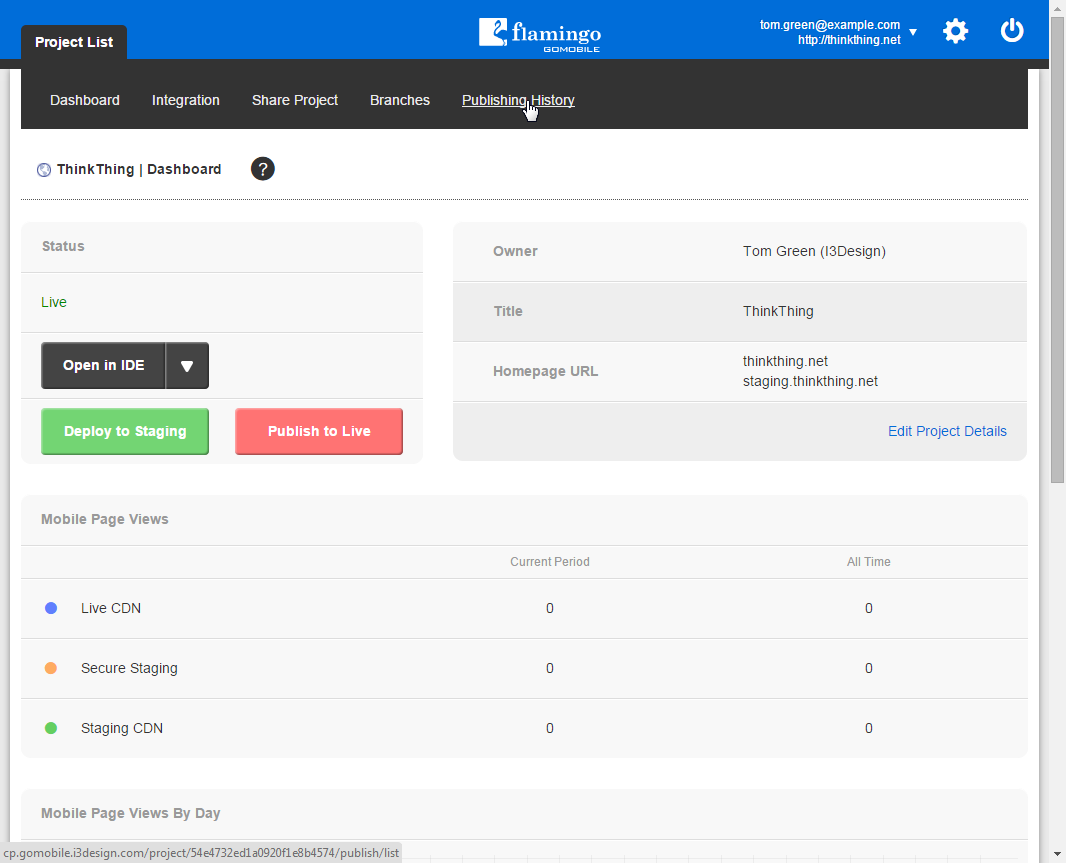
- Find the required revision in the list and click on the Publish to Live action.

- Click the See Changes link to view the list of files and templates that were modified in this revision.

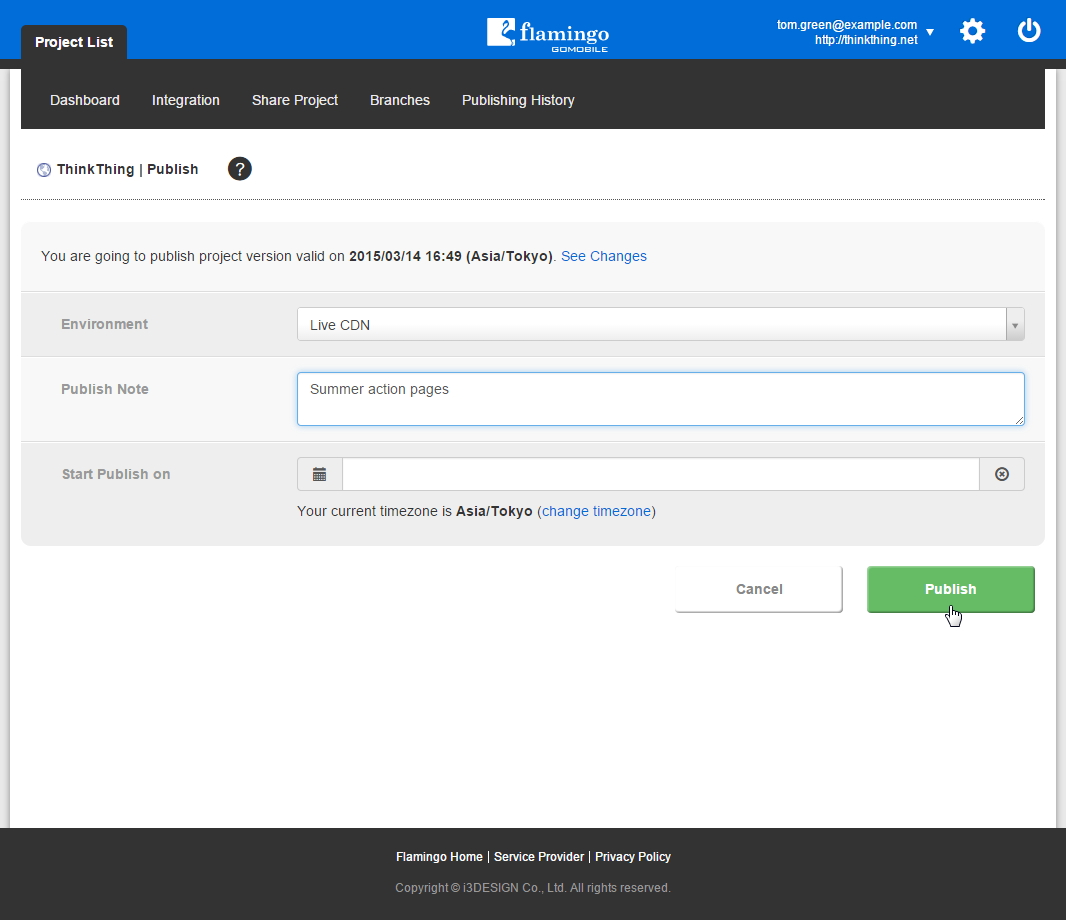
- You can add a note defining the revision in the Publish Note field.
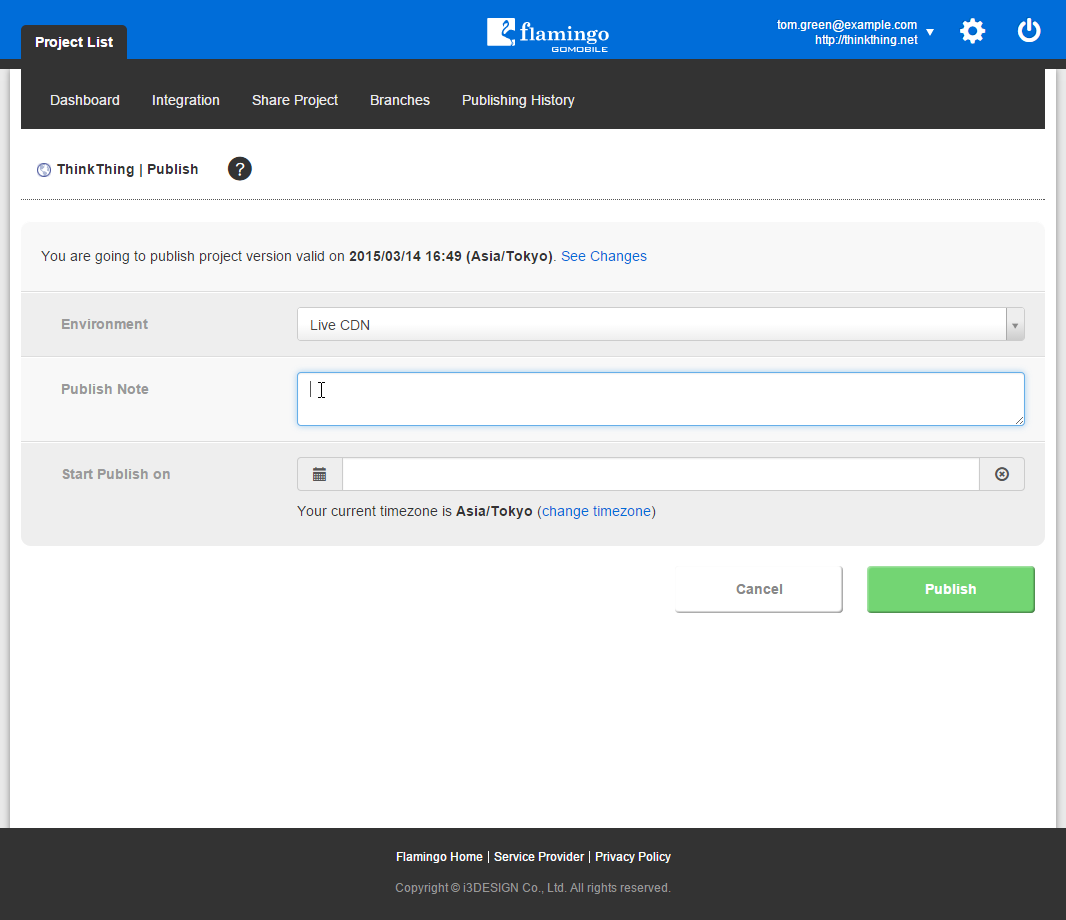
- Click Publish.
You will return to the Publishing History page and the message about successful request creation will be shown. Email notification about the initialized action will be sent to the person who requested the action and to the project owner.
Restoring revision on the Live CDN environment
To restore revision, published on the live environment earlier, you should:
- Open the needed project on the Project List page by clicking on it.
- Go to the Publishing History page.
- Find the required revision in the list and click on the Restore on Live action.
- Click the See Changes link to view the list of files and templates that were modified in this revision.

- You can add/modify a note defining the revision in the Publish Note field.
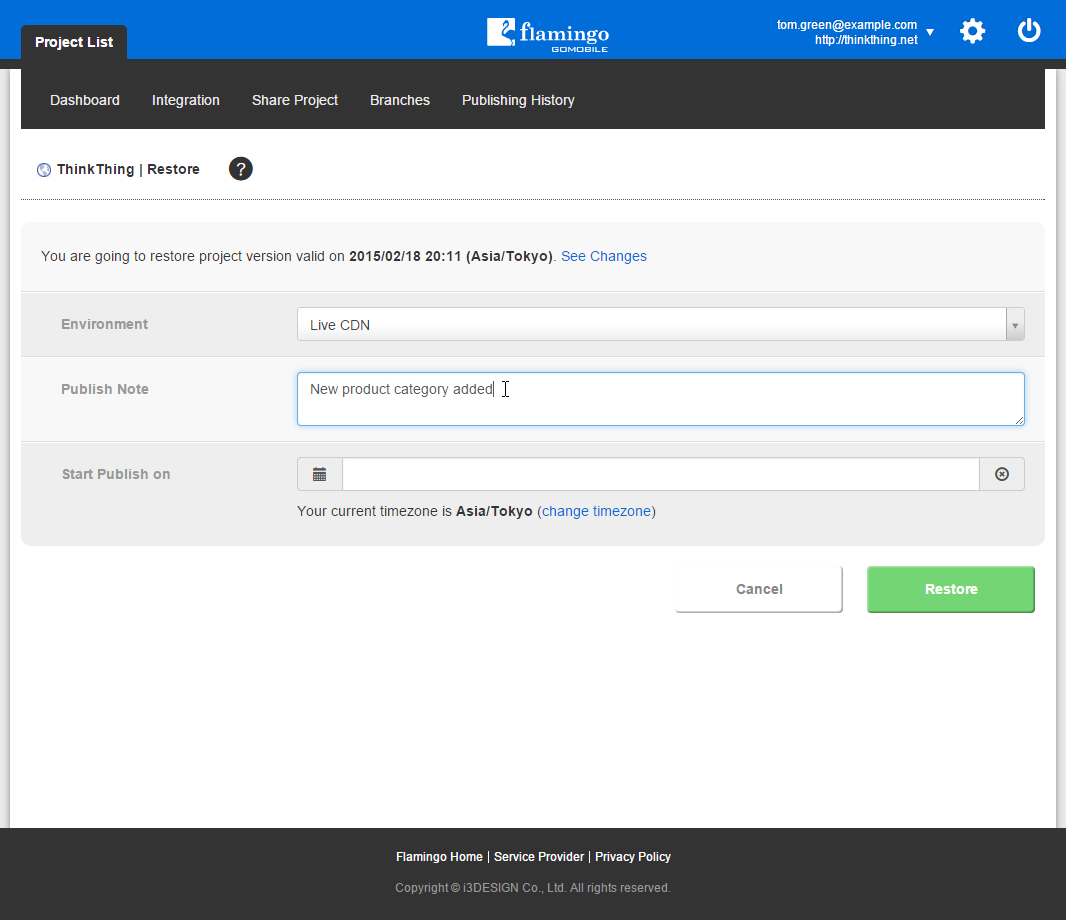
- Click Restore.
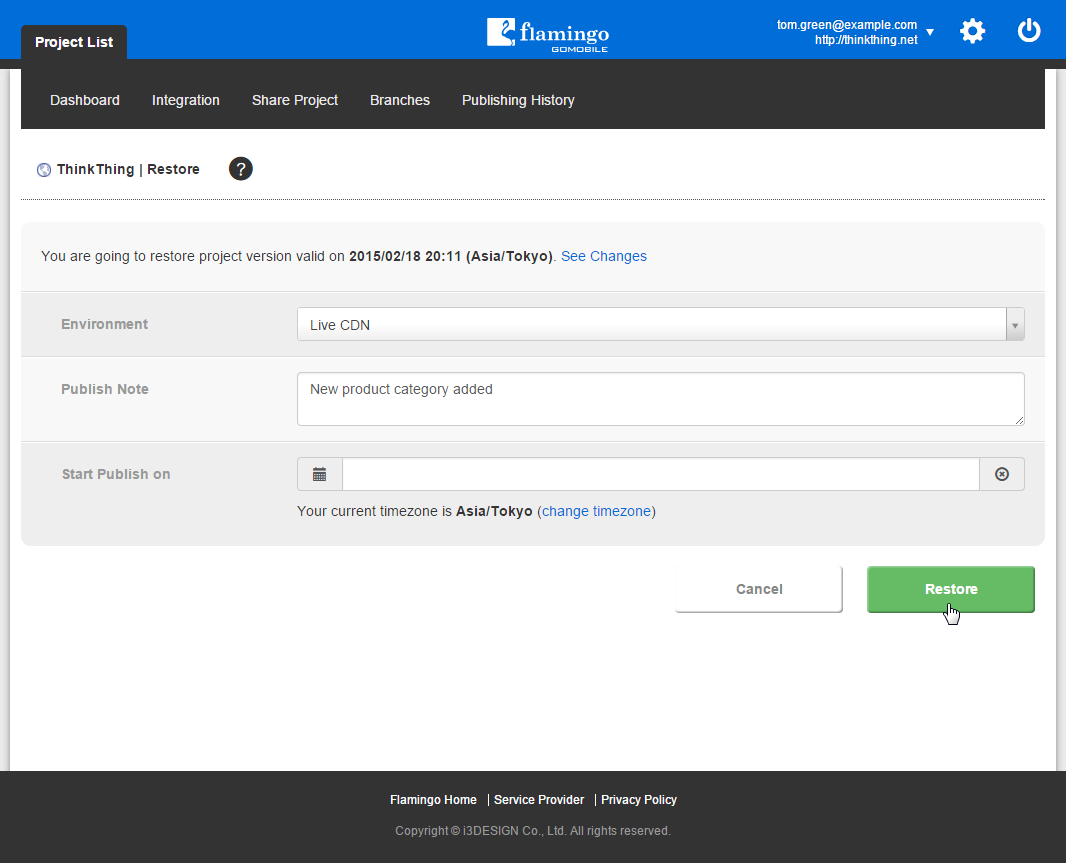
You will return to the Publishing History page and the message about successful request creation will be shown. Email notification about the initialized action will be sent to the person who requested the action and to the project owner.
Deploying revision to the Staging CDN environment
To deploy the needed revision to the staging environment, you should:
- Open the needed project on the Project List page by clicking on it.
- Go to the Publishing History page.
- Find the required revision in the list and click on the Deploy to Staging action.
- You can add a note defining the revision in the Deploy Note field.
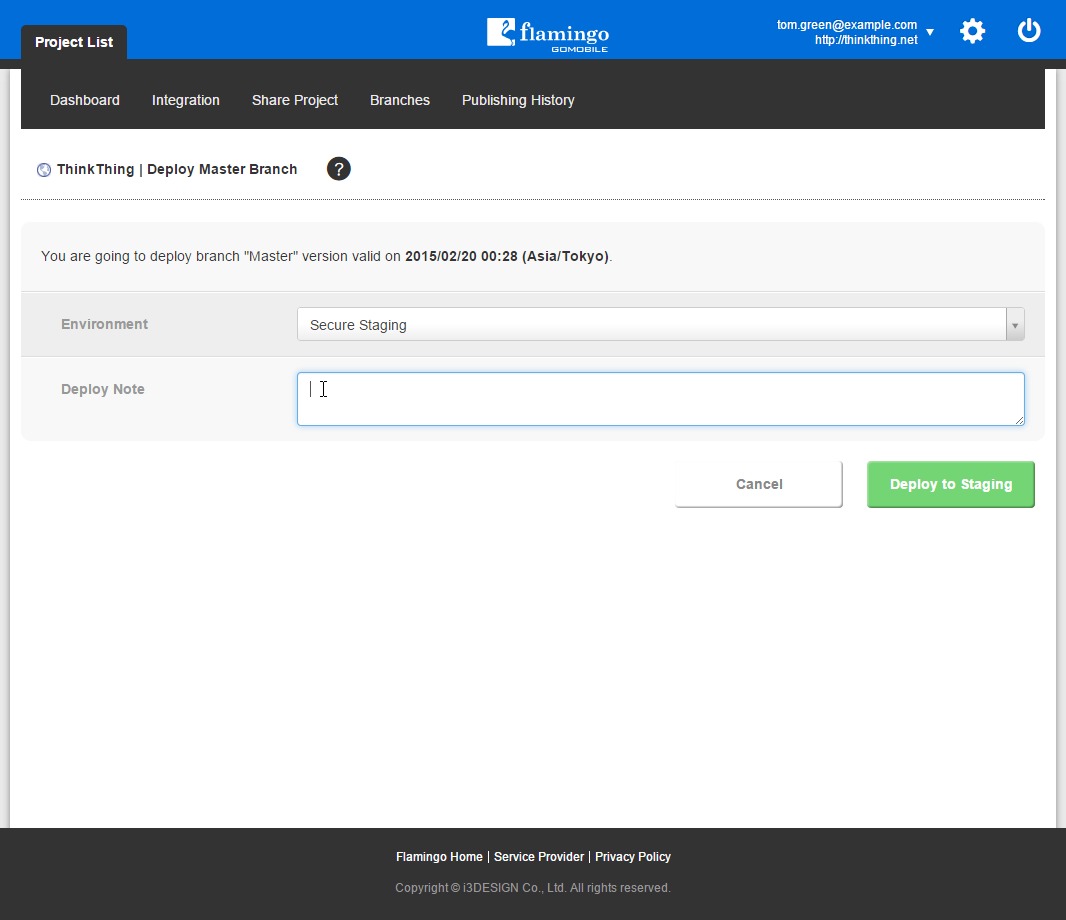
- Click Deploy to Staging.
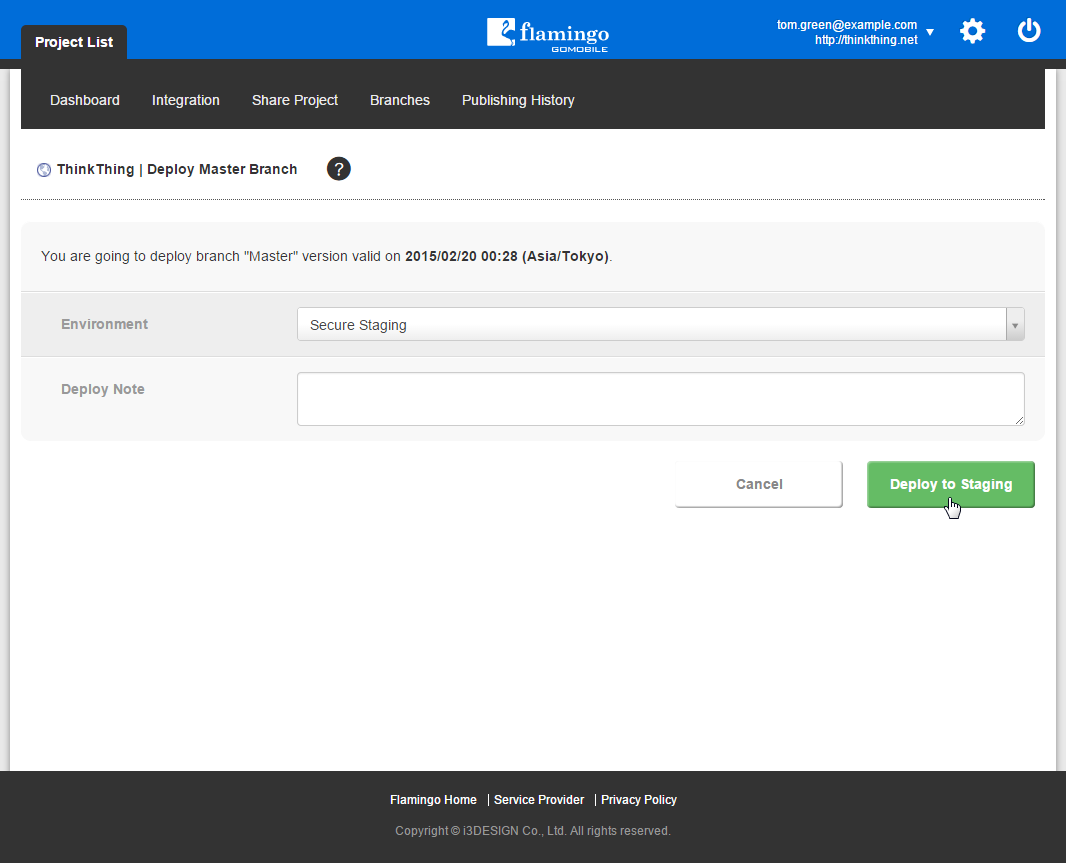
You will return to the Publishing History page and the message about successful request creation will be shown.