Creating and Deleting Branches
In Flamingo Control Panel, you can create new branches and delete the ones you don’t need anymore.
Creating Branches
To create new branch in your project, you should:
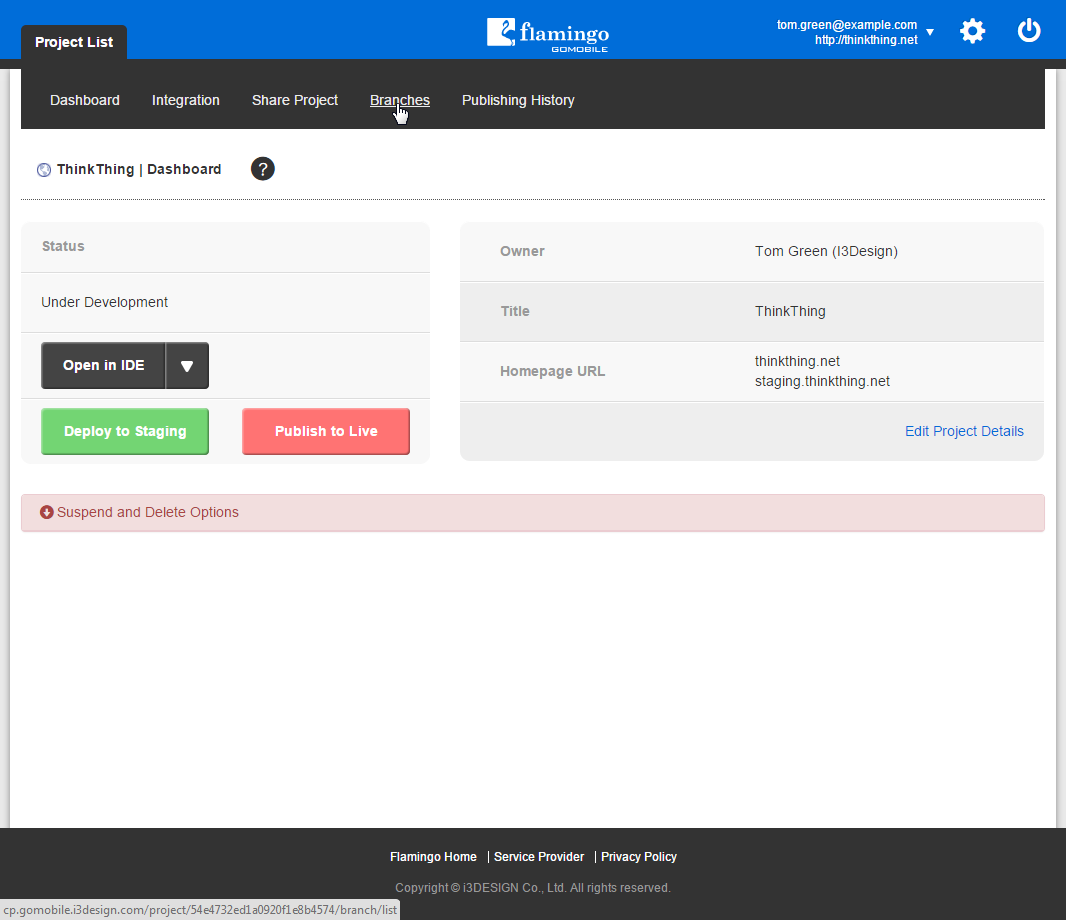
- On the Project List page, open the needed project by clicking on it.
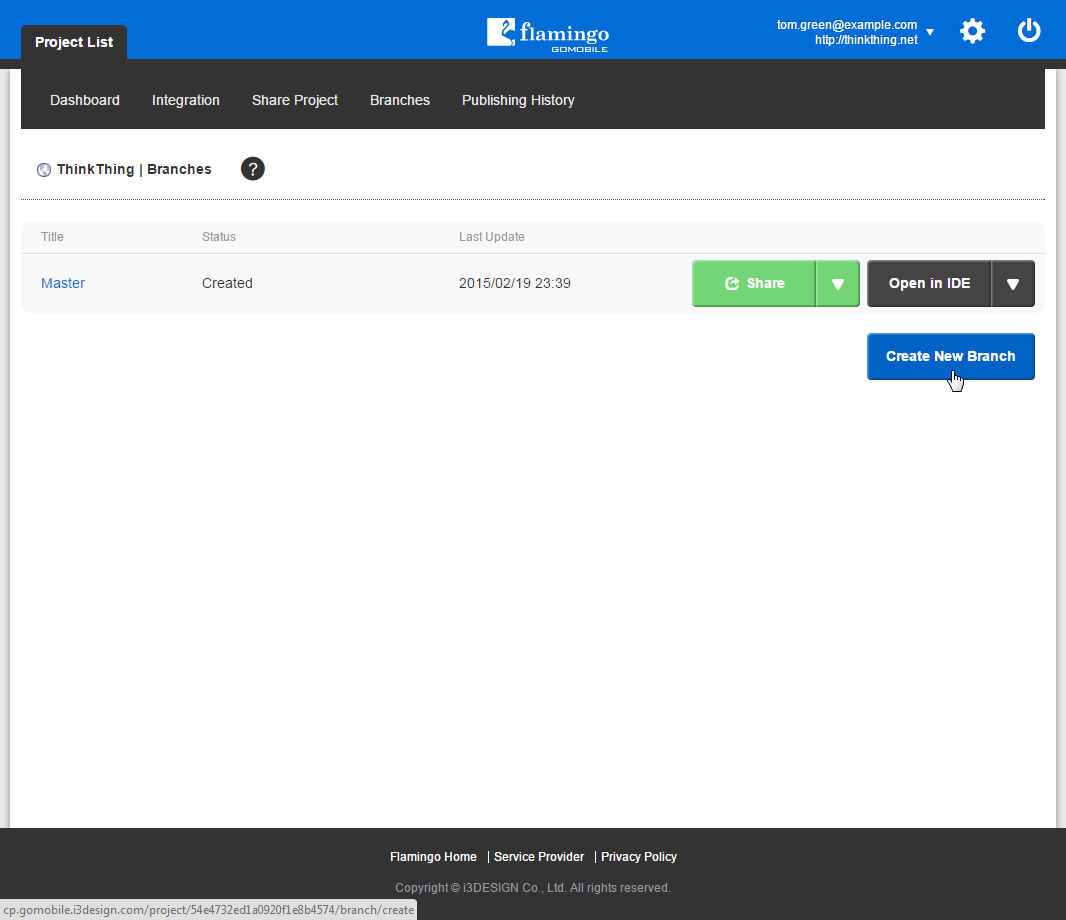
- Go to the Branches page.
- Click the Create New Branch button.
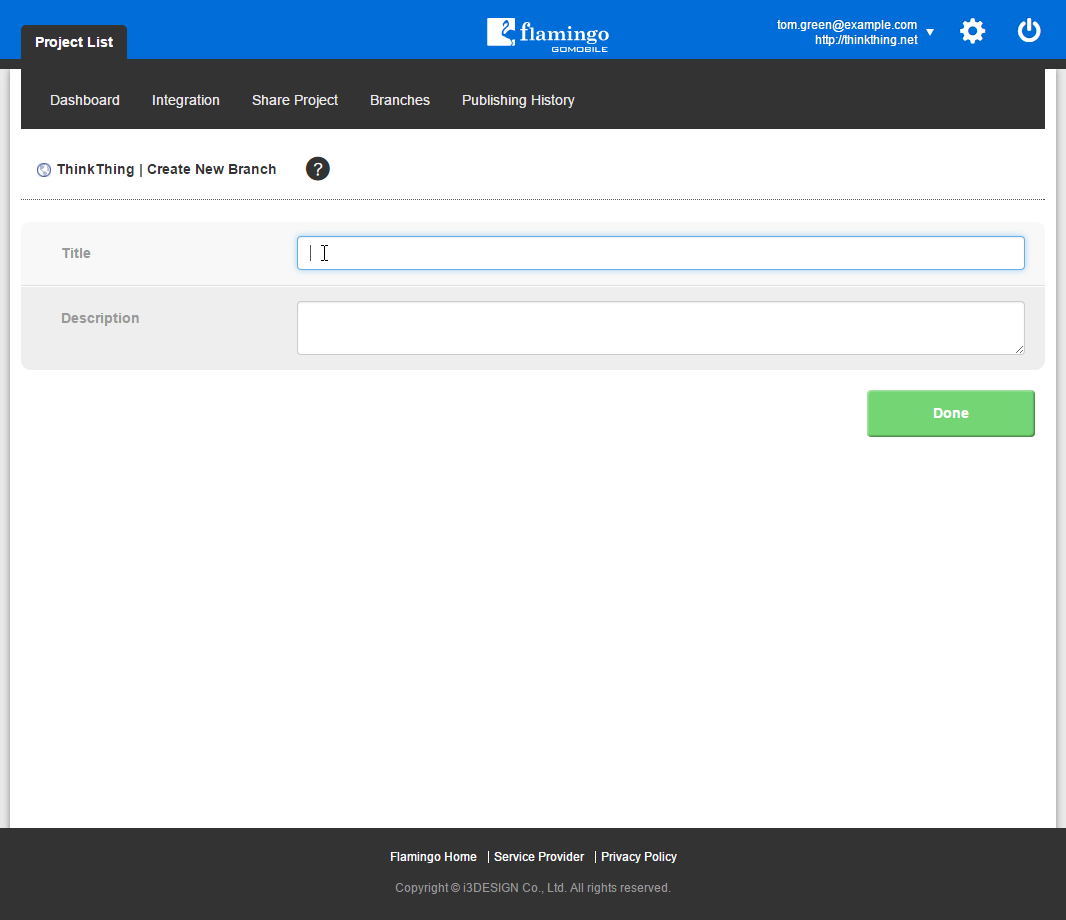
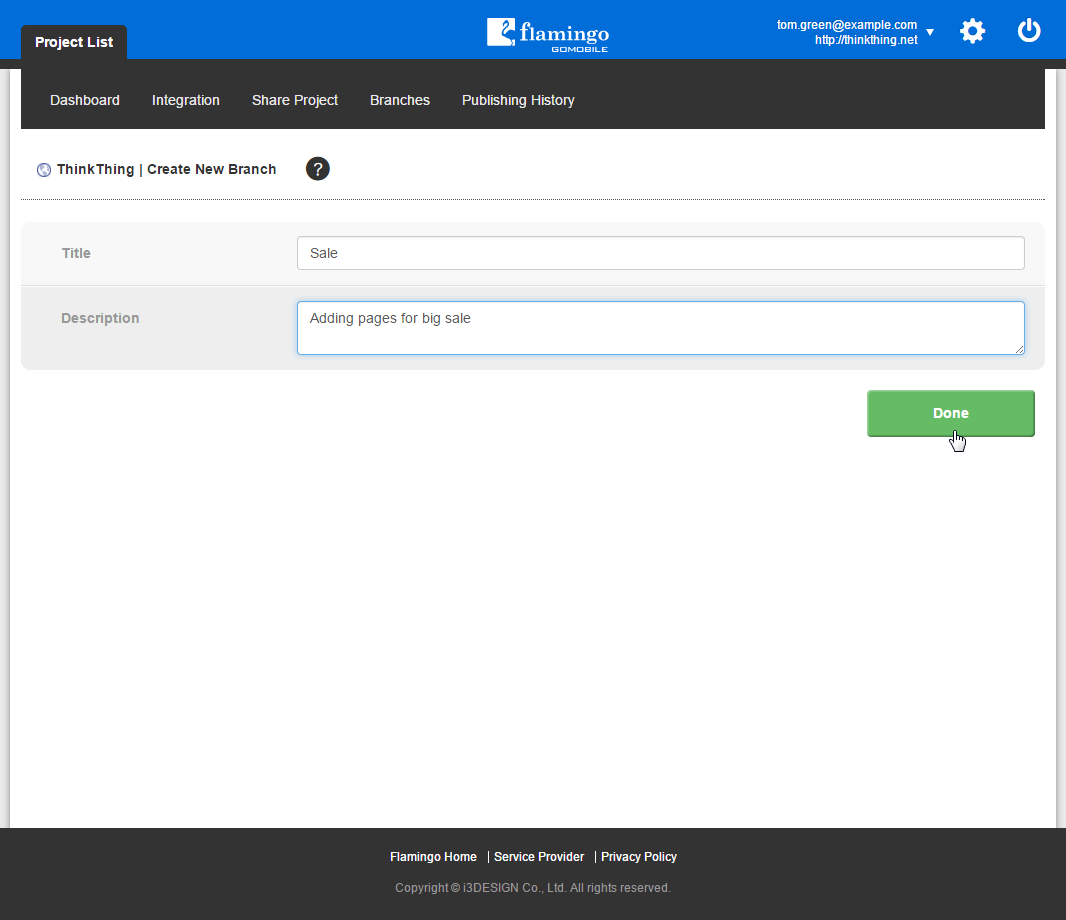
- Enter branch name in the Title field. You can also enter branch description in the corresponding field. This description will be shown as tooltip when you point to the branch in the list and can be used to add task description or define who is responsible for it.
- Click Done.
The list of branches will be shown. When your new branch is created and ready to work with, its status will be changed to Created and the Open in IDE button will be available. Usually this process takes up to 1 minute.
Note
You can create no more than 5 child branches in each project.
Deleting Branches
When you’ve finished working with a branch and merged it into the Master branch, it’s better to delete it.
You should keep in mind that nobody should be working on the branch you are going to delete in Flamingo IDE. If someone is working on it, Control Panel will notify you about it and provide the list of users. Use multi-user development feature to communicate with these people and delete the unnecessary branch easily.
To delete the branch, you should:
- On the Project List page, open the needed project by clicking on it.
- Go to the Branches page.
- Near the branch you need to delete, select the Delete Branch action in the action list.
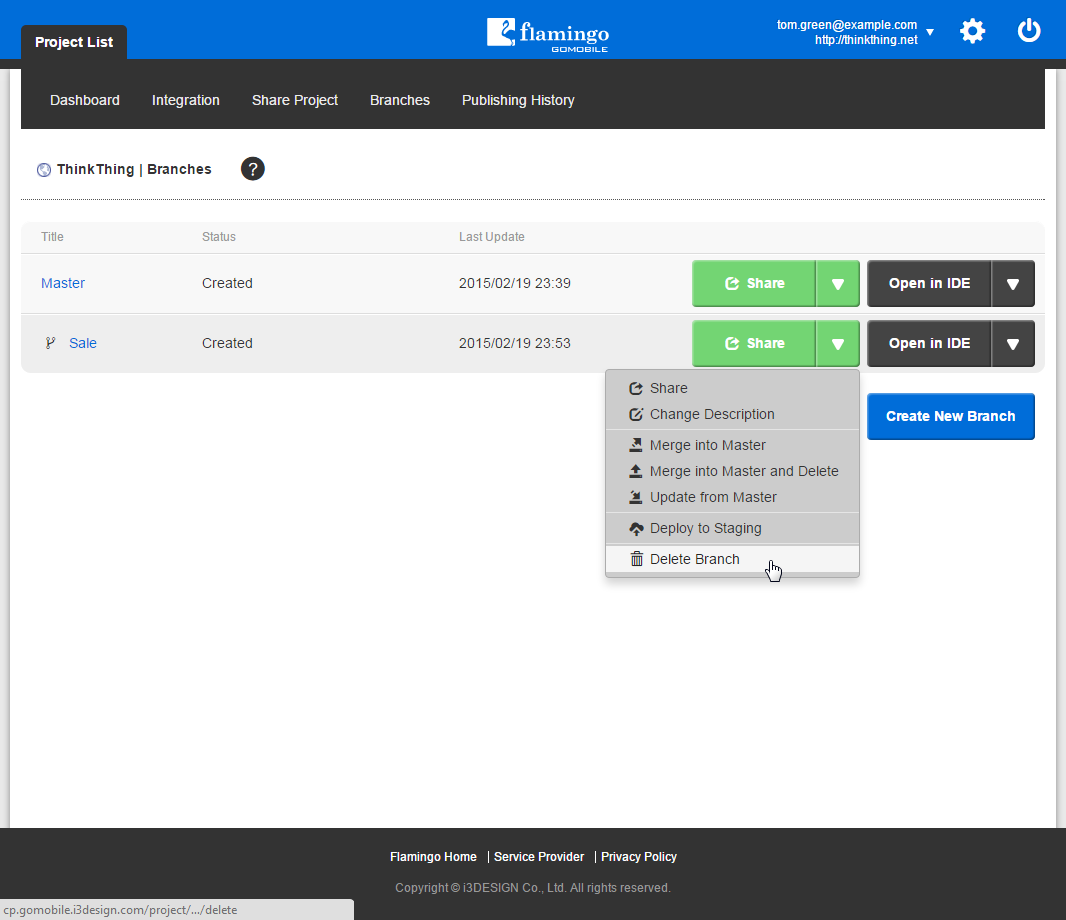
If you need to merge your branch into the Master branch first, select the Merge into Master and Delete action.
- In the message that appeared, click OK.
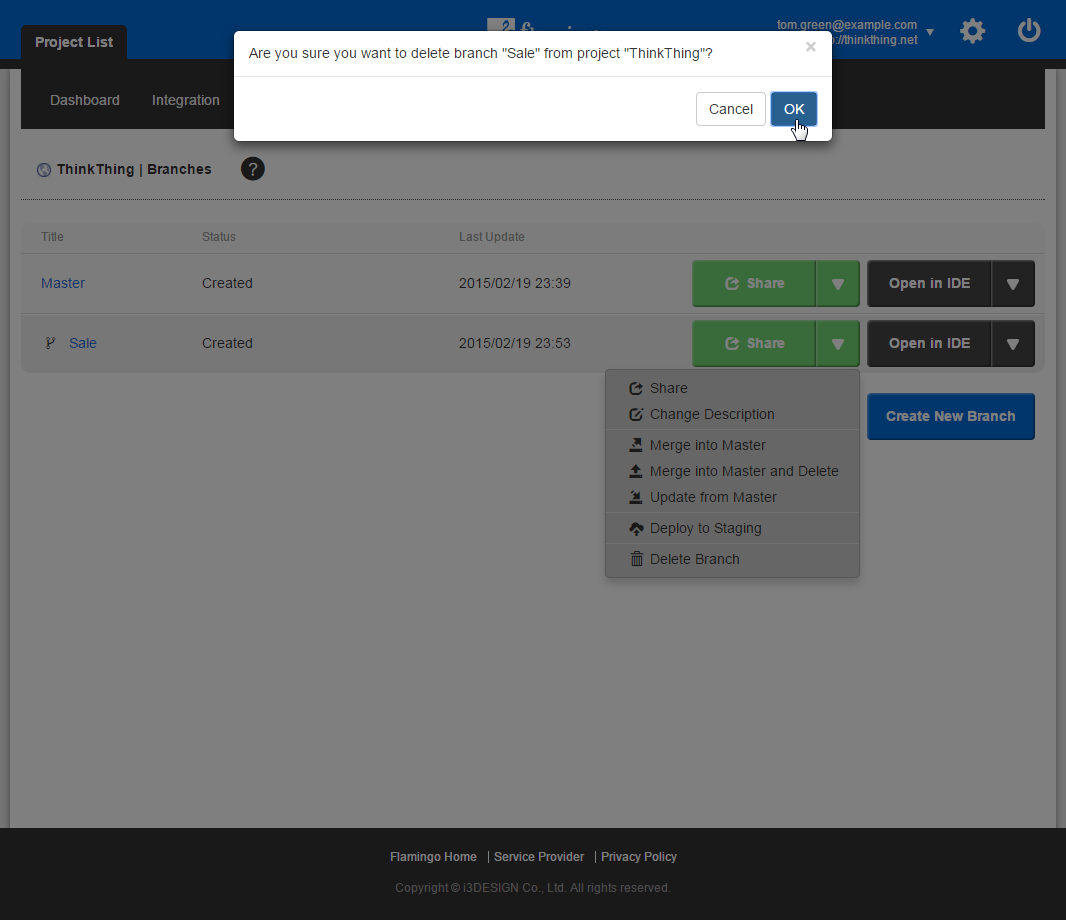
The process of branch deletion will be initiated and completed in approximately 1 minute.
Note
Branches are deleted permanently and this action cannot be restored.
See also