Resizing Working Area
While working in Template Manager, File Manager and Code Editor, you can see the impact your changes have on the currently opened page of your website on the preview frame to the left of the working area.
But sometimes you may need to change the preview frame size. Flamingo IDE provides ability to use predefined width of the preview frame and define the width manually .
Note that preview frame toolbar is shown above the preview frame only when you open File Manager, Template Manager, or Code Editor for the first time in your Flamingo IDE session. After that it’s hidden automatically. To open the toolbar, move mouse pointer to the top of the preview frame.
Using predefined preview frame width
To use predefined preview frame width, you should:
- Open the preview frame toolbar by moving mouse pointer to the top of the preview frame.
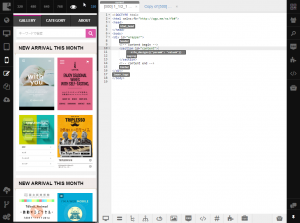
- Click one of the available preview width options.
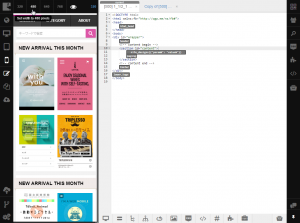
Note
Depending on the initial browser window size some options may be inactive. That is because preview frame cannot take more than two thirds of working area and be less than 320 px.
Preview frame will be resized and its current size will be marked with white color on the toolbar.
Setting preview frame width manually
To set preview frame width manually, you should just drag the right preview frame border. The width of the preview frame will be shown as you change it:
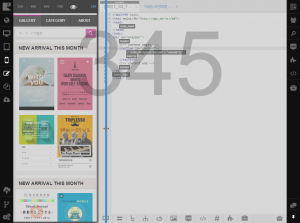
Or you can set precise width right away:
- Open the preview frame toolbar by moving mouse pointer to the top of the preview frame.

- Click on the number shown in the right corner of the toolbar.
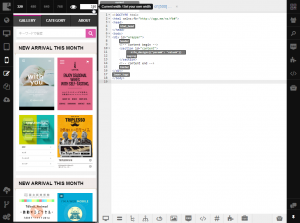
- Enter the desired width in the field that appeared.
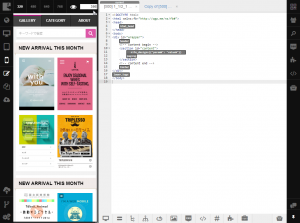
- Press ENTER.
Note
Depending on the initial browser window size some preview frame sizes cannot be applied. That is because preview frame cannot take more than two thirds of working area and be less than 320 px.
The preview frame width will be changed and you can continue working.