Integration with Flamingo Switcher Code
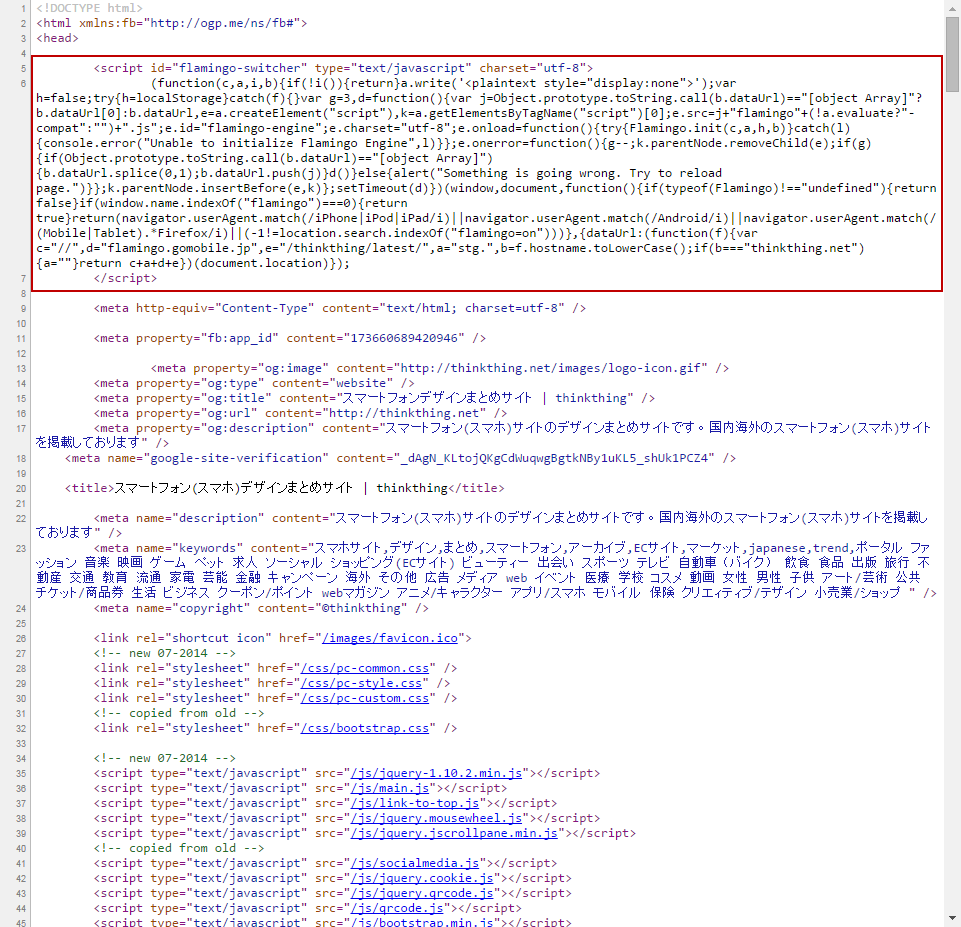
In order to work with your site in Flamingo, you need to add special JavaScript script to every page you need to make responsive. It’s called switcher code.
Switcher code should be inserted right after the opening HEAD tag of your page. It is different for each environment, with the exception of unified switcher.
After you insert the script into your pages, you should let Flamingo check it to determine if it works correctly. Flamingo will check each home page URL specified in project. For this, you should:
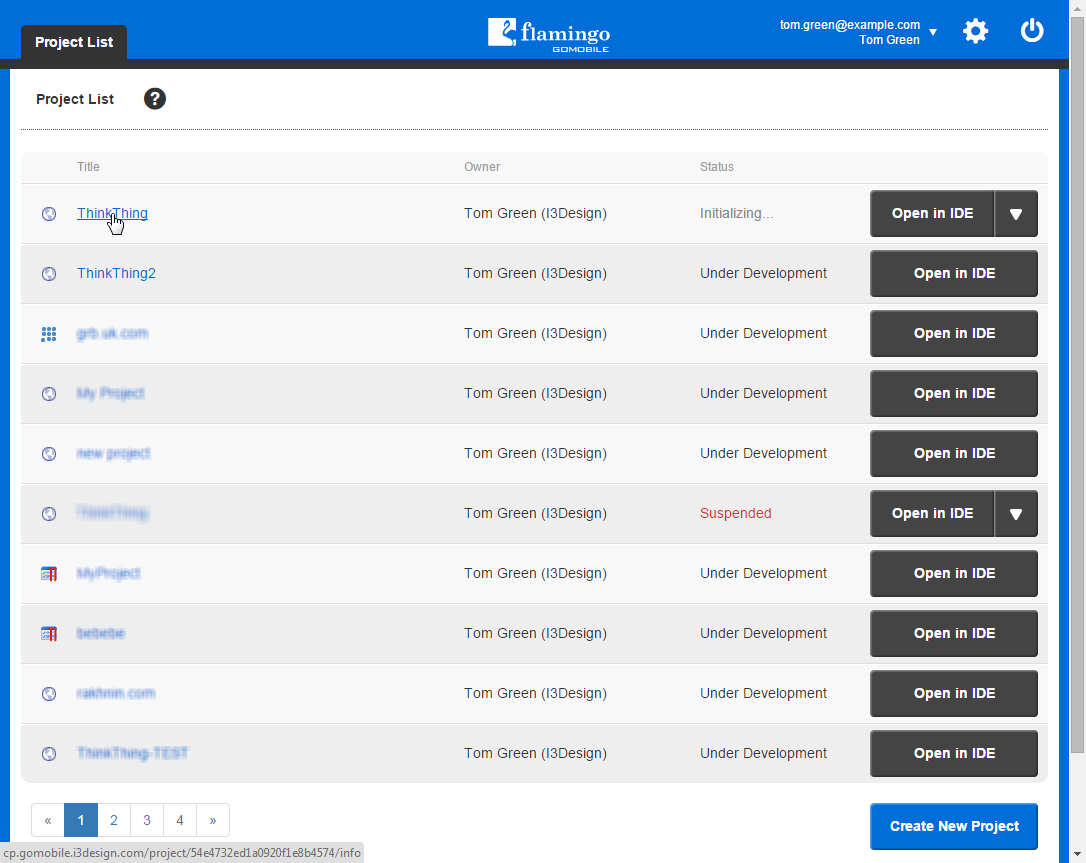
- In Control Panel, open your Project List.
- In the list, find your project and click on it to open.
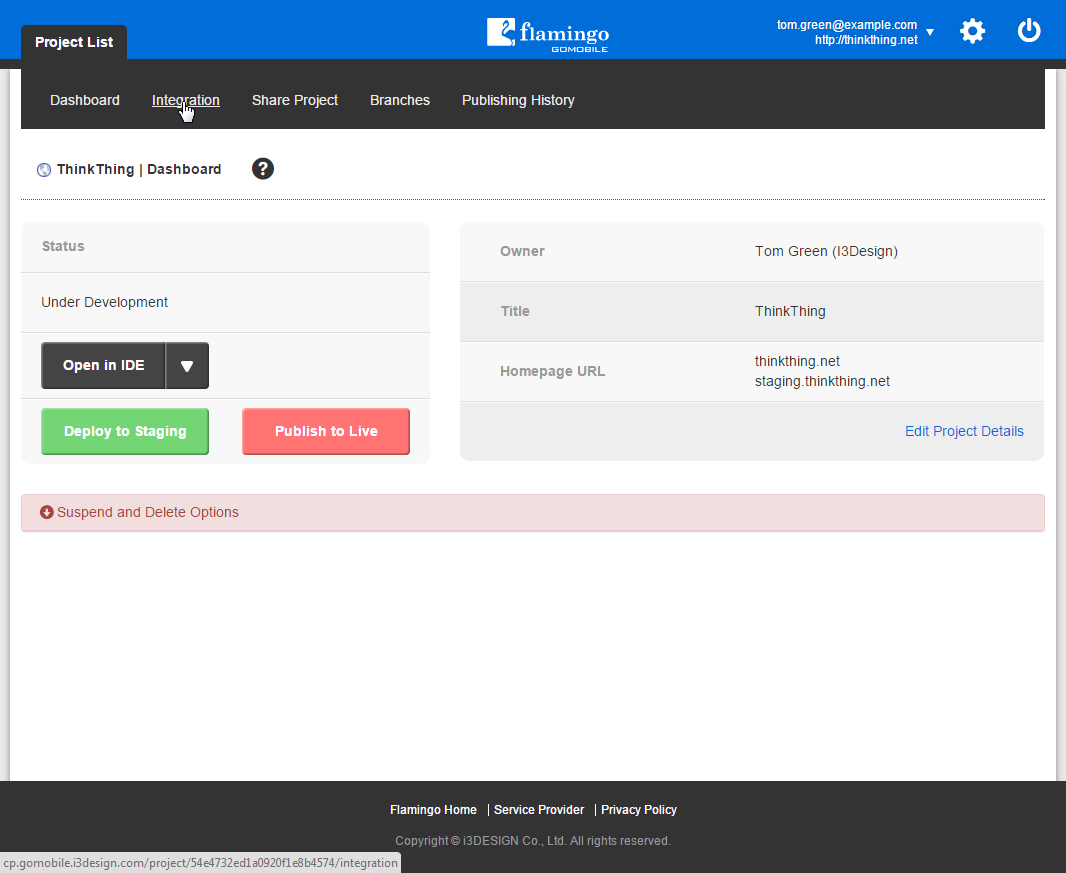
- Go to the Integration page.
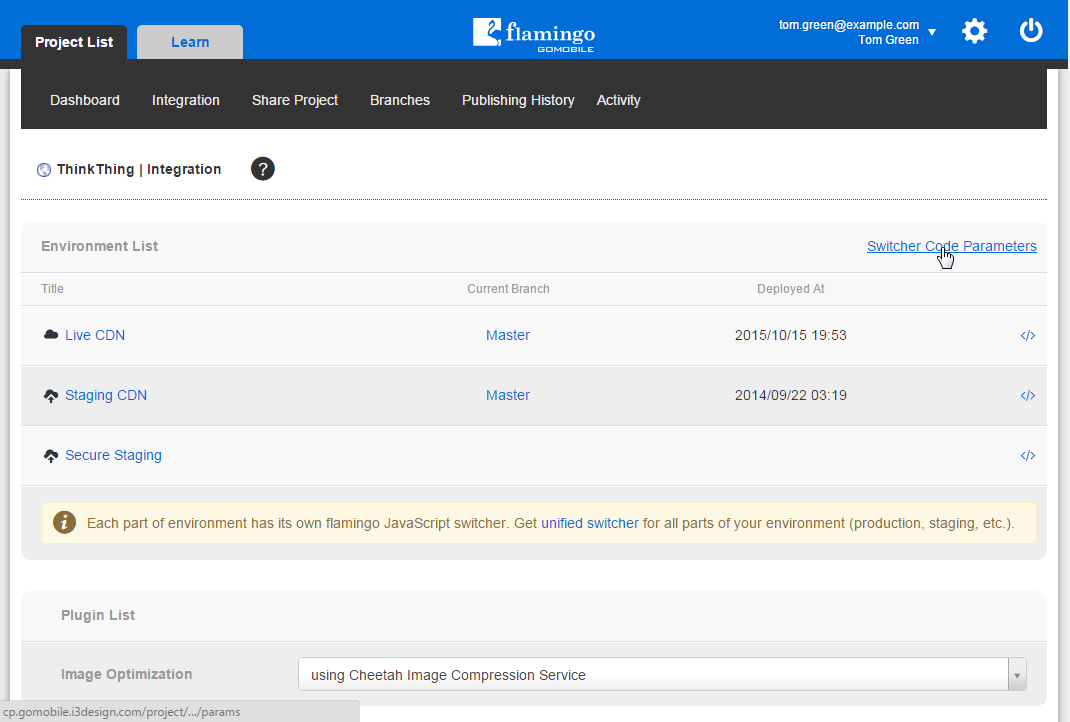
- Click </> Get flamingo JavaScript switcher code near the corresponding environment in the Environment list.

- Copy the code available in the JavaScript Switcher Code section.

-OR-
Download switcher code as a *.txt file for future use by clicking Download.

- Insert switcher code right after the opening HEAD tag of each page of your site you need to make responsive in any external code editor.
- Save all pages.
- Back in Flamingo Control Panel, click Revalidate Script Installation to check that script is working properly.

- After Flamingo completes validation, it will show the validation status. If Flamingo Script works properly, a button allowing you to open the project in Flamingo IDE will be shown. If script available on your pages is not valid, the corresponding statement will be shown. After you fix the script, click the Recheck button to validate it again.

After script works properly on your site, you can open it in Flamingo IDE.
Using External Switcher Code
Flamingo provides reduced switcher code to use on your site instead of the initial switcher code. It is called external switcher code. To use the external switcher code on your site:
Follow Steps 1-3 from the previous instruction.
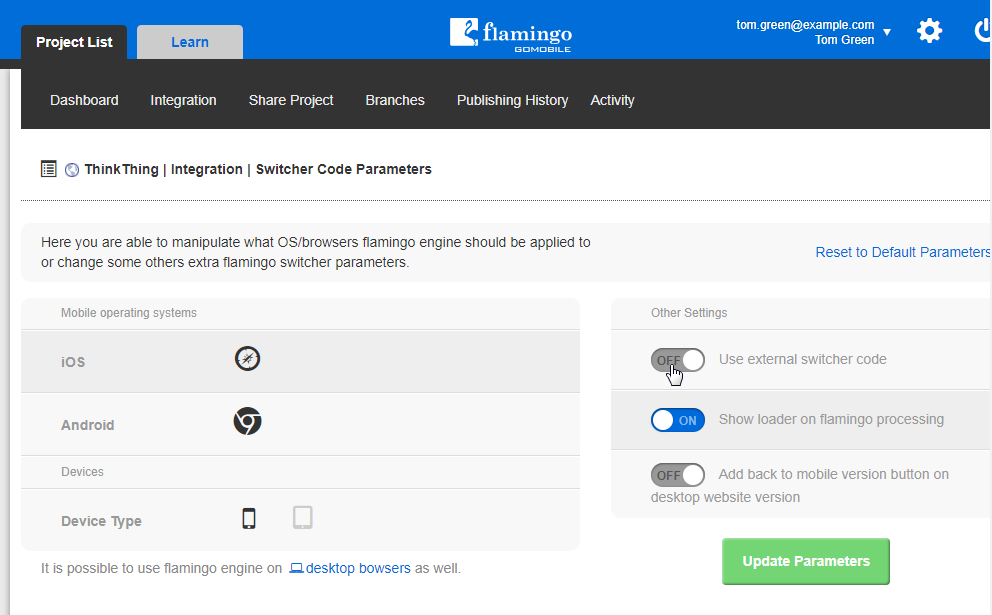
Click Switcher Code Parameters.
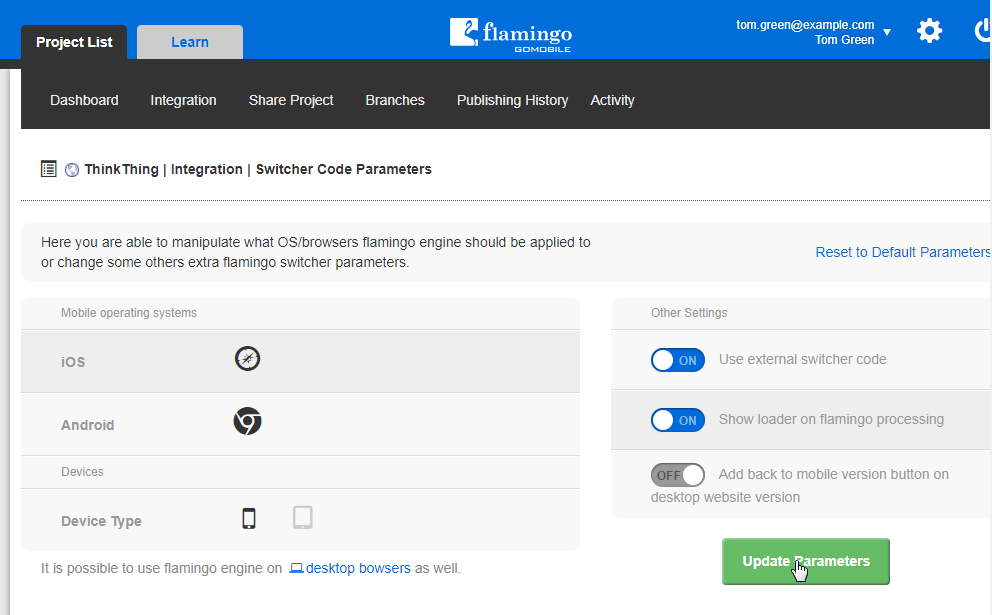
Turn the Use external switcher code option ON.
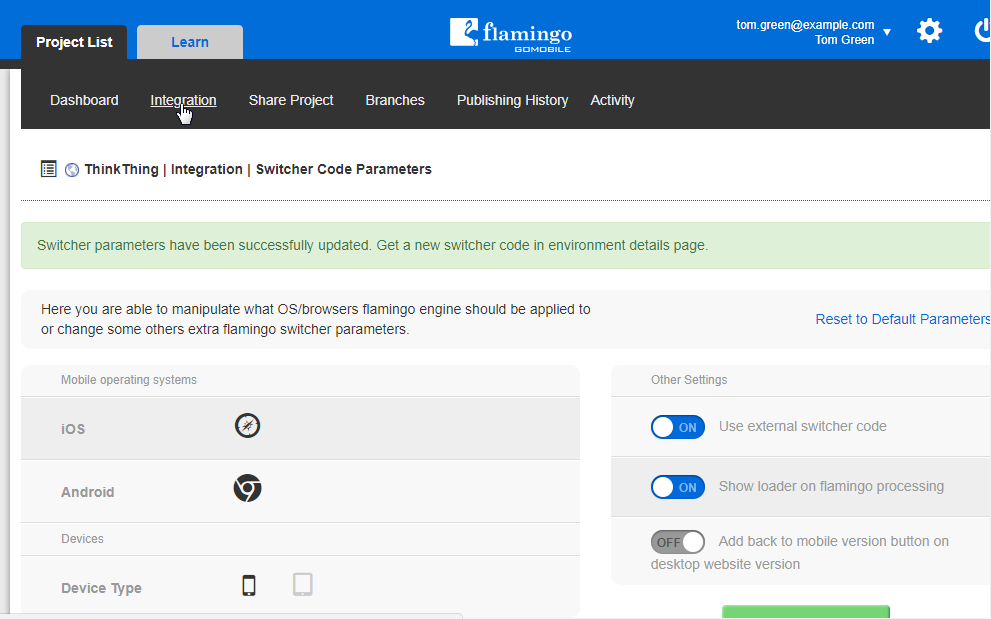
Click Update Parameters.
Return to the Integration page.
Follow Steps 4-9 from the previous instruction.